Harbor and Trivy for a Secure Kubernetes Cluster
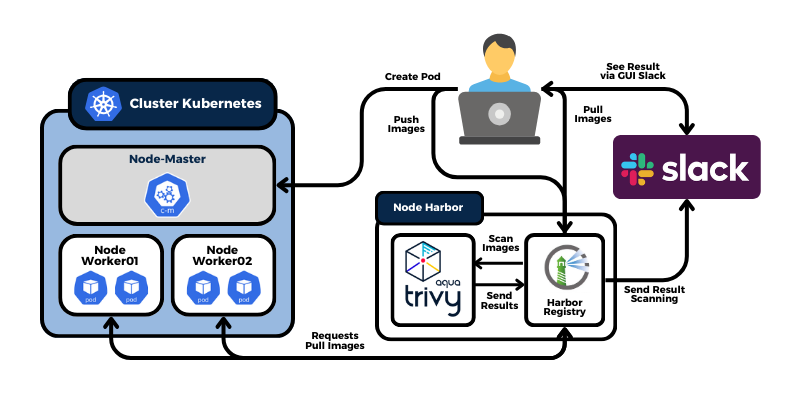
This guide shows how to use Harbor and Trivy together as a container image security workflow for Kubernetes. Harbor provides a structured private registry, while Trivy scans container images for vulnerabilities and helps enforce application security standards.
The tutorial also integrates Slack as a notification channel, so Trivy scan results can be delivered to the team in real time. Fast notifications make it easier to respond quickly and apply the right mitigation before a vulnerable image reaches a cluster.
<br>As organizations move more workloads to cloud and container platforms, they need infrastructure that is flexible, automated, and secure. Kubernetes is widely adopted because it can manage containerized workloads at scale, but the images used by those workloads also need a controlled distribution and security process.
A private registry protects internal images, while vulnerability scanning helps reduce the risk of shipping vulnerable dependencies or operating-system packages. Harbor provides the registry and Trivy performs automated scans when events such as new image pushes occur.
The workflow also needs fast, automated notifications. Slack provides a practical way to deliver scan results to the team and coordinate remediation for images stored in Harbor.
<br>- Kubernetes - v1.28.15
- Kubeadm
- Kubectl
- Kubelet
- Harbor - 2.10.0
- Trivy - 0.47.0
- Docker - 27.3.1
- OpenSSL - 3.0.2
- Slack
Harbor
Harbor is an open-source registry for storing and managing the images used to build containers. It integrates with vulnerability scanners such as Trivy and Clair, making it easier to assess the security of stored images.
Trivy
Trivy is an open-source scanner focused on detecting vulnerabilities in container images. It checks application libraries and dependencies, such as Composer, npm, and Yarn, as well as packages in the operating system layer.
Slack
Slack is a workplace communication platform for messages, files, and tool integrations. It supports direct messages and group channels, and its integrations make it useful for automating application notifications.
<br>1. Install Docker for the Harbor Registry
The following packages are required to run Harbor. For a detailed explanation of Docker and its installation, see Docker Containers.
docker-ce                # Main Docker package
docker-ce-cli            # Docker CLI package
containerd.io            # Docker container runtime package
docker-buildx-plugin     # Docker image build package
docker-compose-plugin    # Docker Compose package
2. Create an SSL Certificate for Harbor
-
Create an IP SAN configuration so the certificate is valid when Harbor is accessed by IP address. Store it under
/etc/ssl/.bash~$ echo "subjectAltName=IP:<IP Address Node>" > IP_SANS.txt -
Create the certificate and key used for Harbor HTTPS connections. Store them under
/etc/ssl/harbor/.bash~$ sudo openssl genrsa -out harbor.key 4096 ~$ sudo openssl req -sha512 -new \ -subj "/C=IN/ST=jateng/L=kendal/O=<Company Name>/OU=Personal/CN=<Domain>"\ -key harbor.key \ -out harbor.csr ~$ sudo openssl x509 -req -sha512 -days 3650 \ -key harbor.key -extfile /etc/ssl/IP_SANS.ext \ -in harbor.csr \ -out harbor.crt
3. Install Harbor
-
Download and extract the Harbor offline installer.
bash~$ wget https://github.com/goharbor/harbor/releases/download/v2.10.0/harbor-offline-installer-v2.10.0.tgz ~$ tar -xvzf harbor-offline-installer-v2.10.0.tgz -
Copy the sample configuration and edit
harbor.yml.bash~$ cp harbor.yml.tmpl harbor.yml ~$ nano harbor.ymlbashhostname: <IP or Domain> http: port: 80 https: port: 443 certificate: /path/to/ca_harbor.crt private_key: /path/to/ca_habror.key harbor_admin_password: <password admin harbor> -
Run
install.shwith the--with-trivyoption to integrate Harbor with Trivy automatically. Then verify that the Harbor component containers are running without errors.bash~$ sudo ~/harbor/install.sh --with-trivy ~$ docker ps -a
4. Configure Harbor to Scan Newly Pushed Images
-
Sign in to Harbor as
admin, then open the project you want to configure.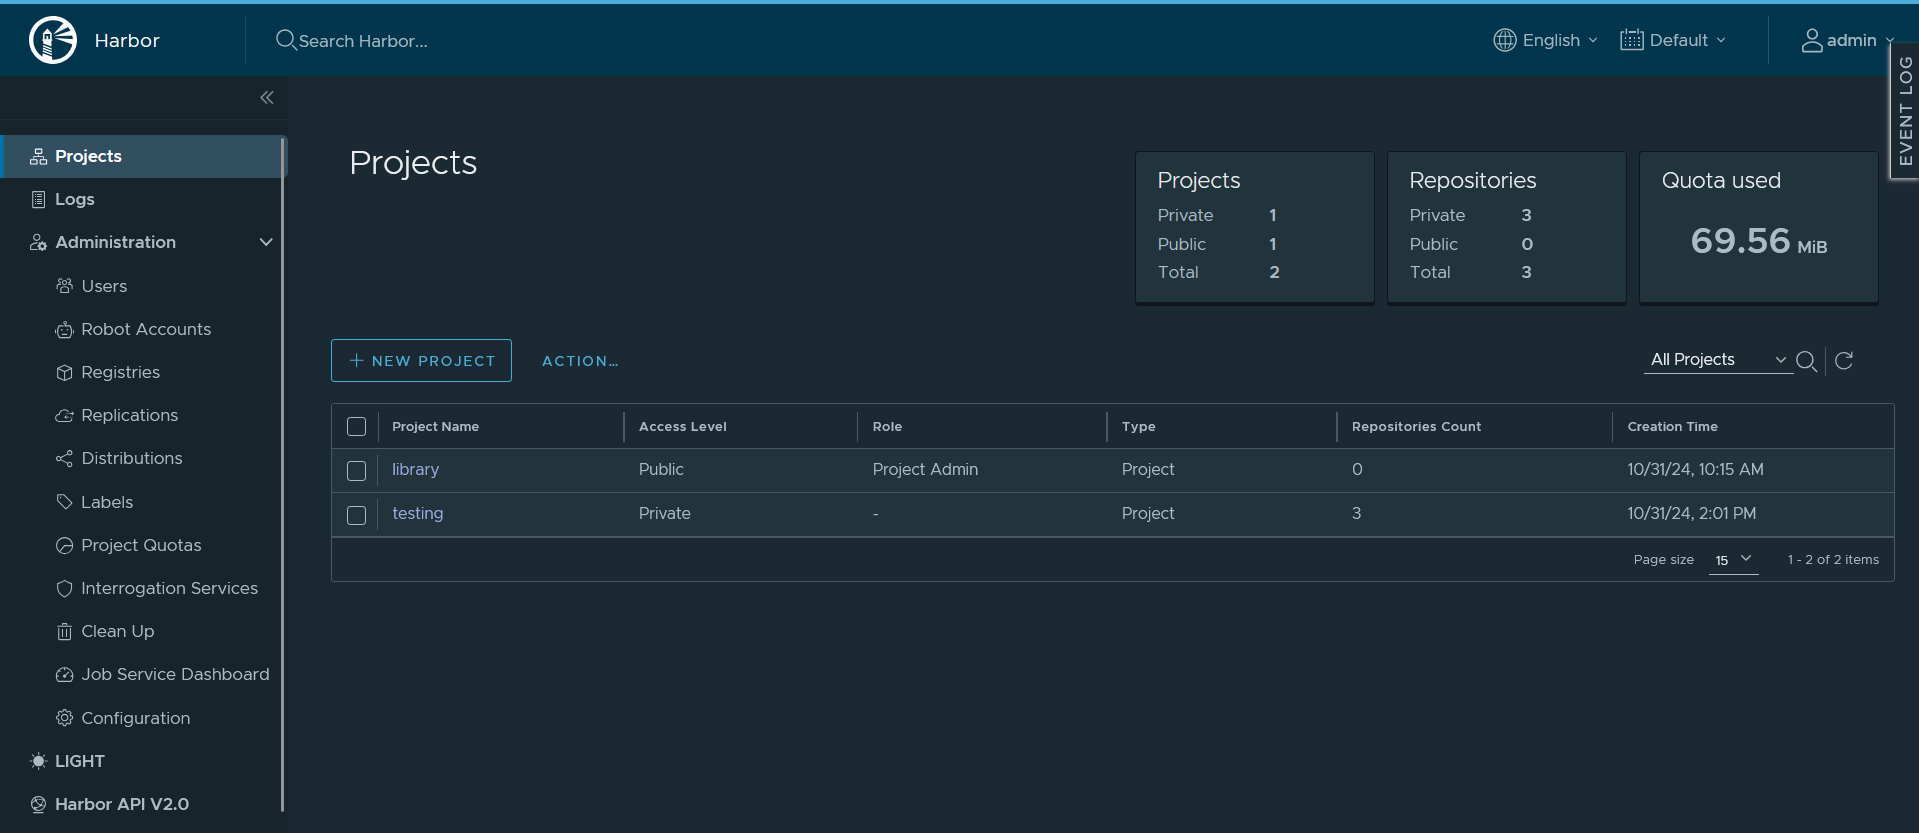
-
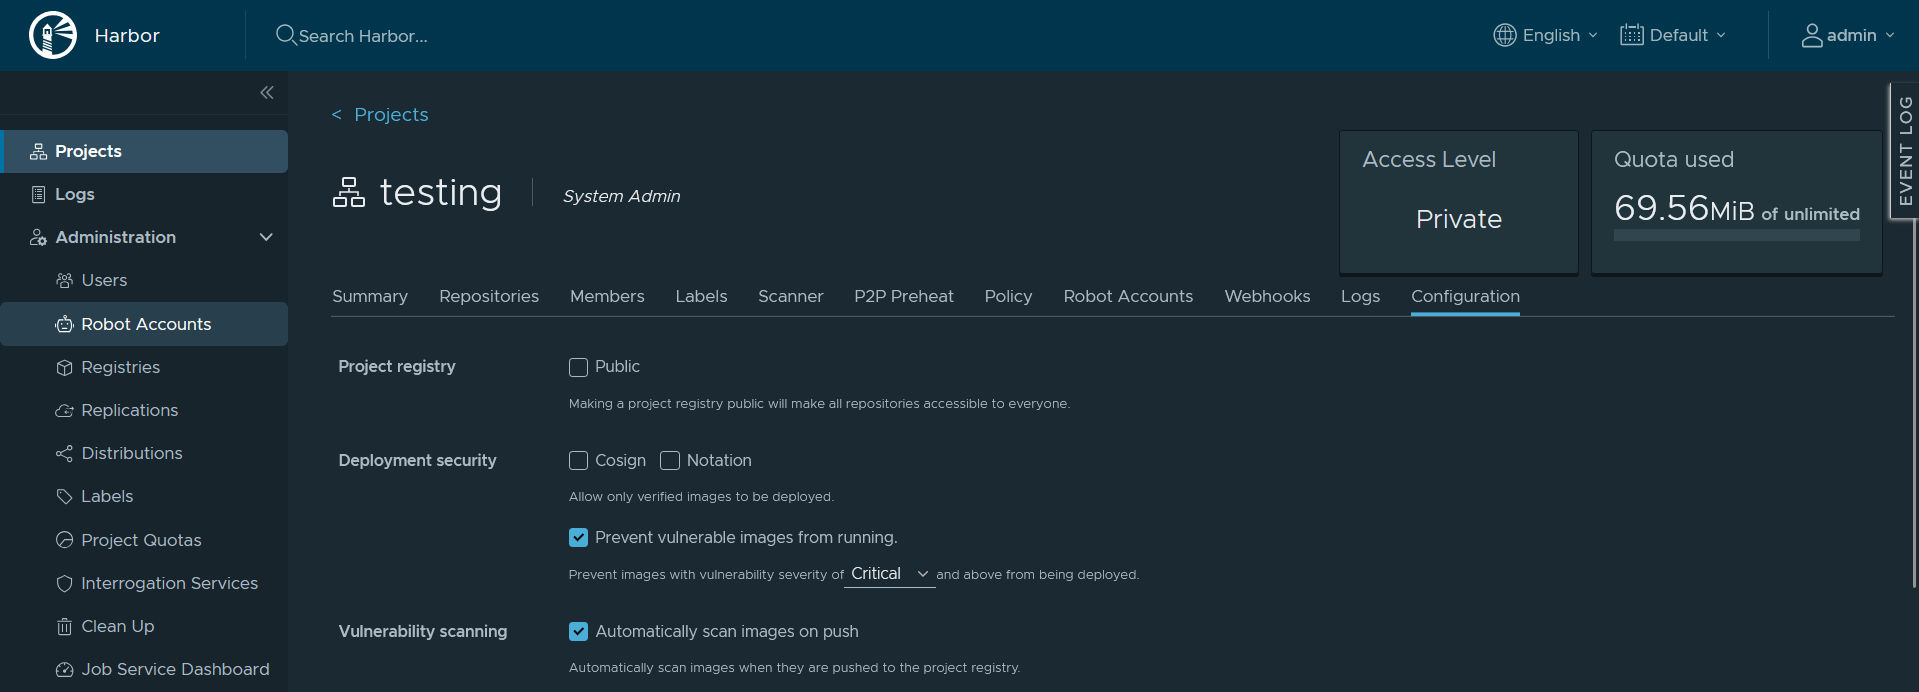
Open "Configuration" and enable the following options:
- "Prevent vulnerable images from running" to block images at or above a selected severity, such as Critical.
- "Vulnerability Scanning" to scan images automatically after they are pushed.
5. Install the Kubernetes Cluster
Follow the Kubernetes installation guide for the cluster setup. Review that guide before continuing so the cluster prerequisites are in place.
<br>6. Configure the SSL Certificate on the Kubernetes Cluster
"Note: Run these steps on every master and worker node.
-
Create the containerd certificate directories on every node in the Kubernetes cluster.
bash~$ sudo mkdir -p /etc/containerd/certs.d/ ~$ sudo mkdir -p /etc/containerd/certs.d/<IP or Domain_registry>/ # Example ~$ sudo mkdir -p /etc/containerd/certs.d/10.18.18.40:8443/ -
Copy the Harbor SSL certificate and key to every node in the Kubernetes cluster.
bash~$ sudo nano /etc/containerd/certs.d/10.18.18.40:8443/ca.crt -----BEGIN CERTIFICATE----- MIID6jCCAtKgAwIBAgIUJ@ipQt1@mbC+oFh7HqornSJ2UxAwDQYJKoZIhvcNAQEL ... eE6/aLPRXcF/72YD3eoER35h/@tnlPuuZTK7iCfYPOFTEsfa@cXGzRtXb2vV4A= -----END CERTIFICATE----- ~$ sudo nano /etc/containerd/certs.d/10.18.18.40:8443/ca.key -----BEGIN PRIVATE KEY----- MIIEvgIBADANBgkqhkiG9w0BAQEFAASCBKgwggSkAgEAAoIBAQDHj+SCxIwcgBlM ... Vkauk44NJ+0iyBPIzizD6qmY -----END PRIVATE KEY-----
7. Configure Kubernetes to Pull Images from Harbor
"Note: Run these commands on the master node.
- Create a Docker registry secret with the Harbor credentials. Use this secret when creating pods that pull images from the registry.
bash
~$ kubectl create secret docker-registry <name Secret> \
    --docker-server=<IP or Domain Registry> \
    --docker-username=<User> \
    --docker-password=<Password user> \
    --docker-email=<email for user>
8. Send Harbor Scan Results to Slack
-
Sign in to Slack and create a workspace if you do not already have one.


-
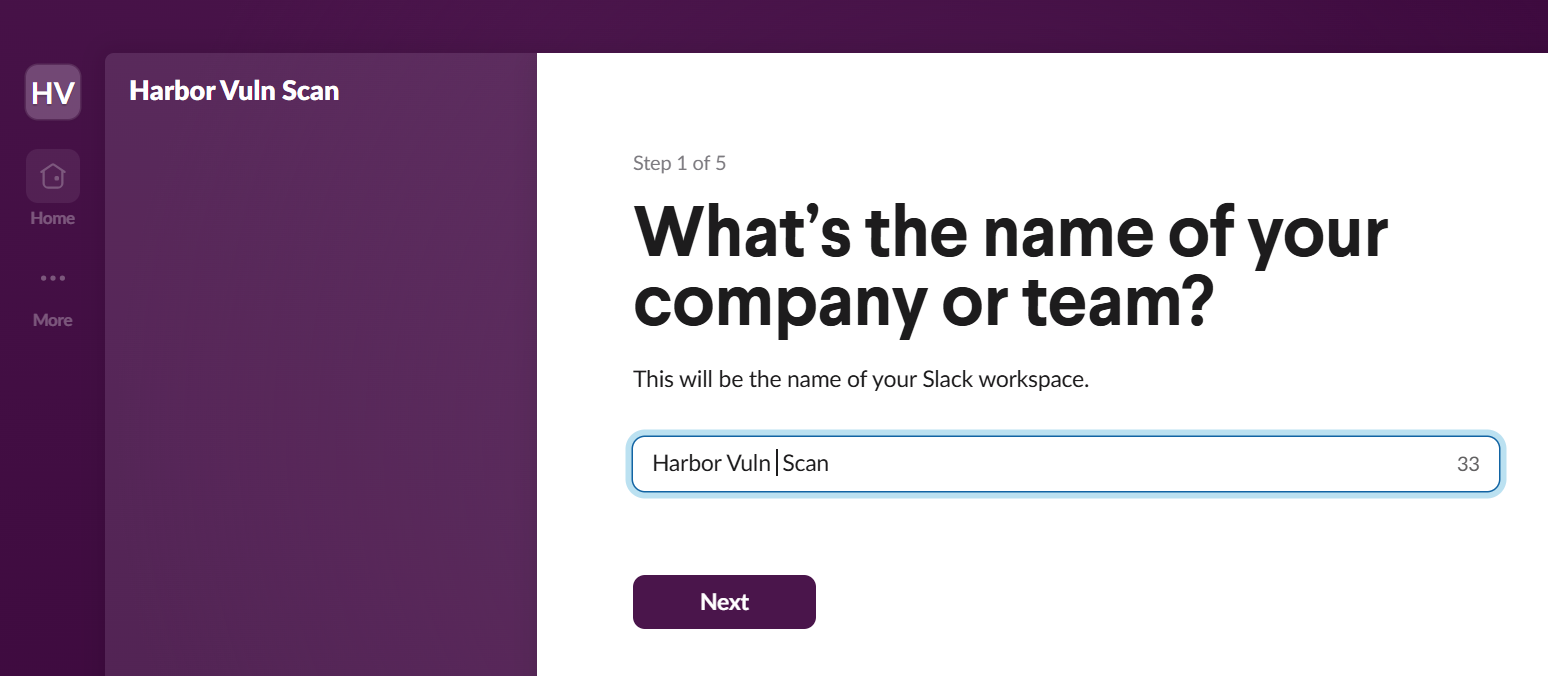
Enter a company or team name, such as "Harbor Vuln Scan".
-
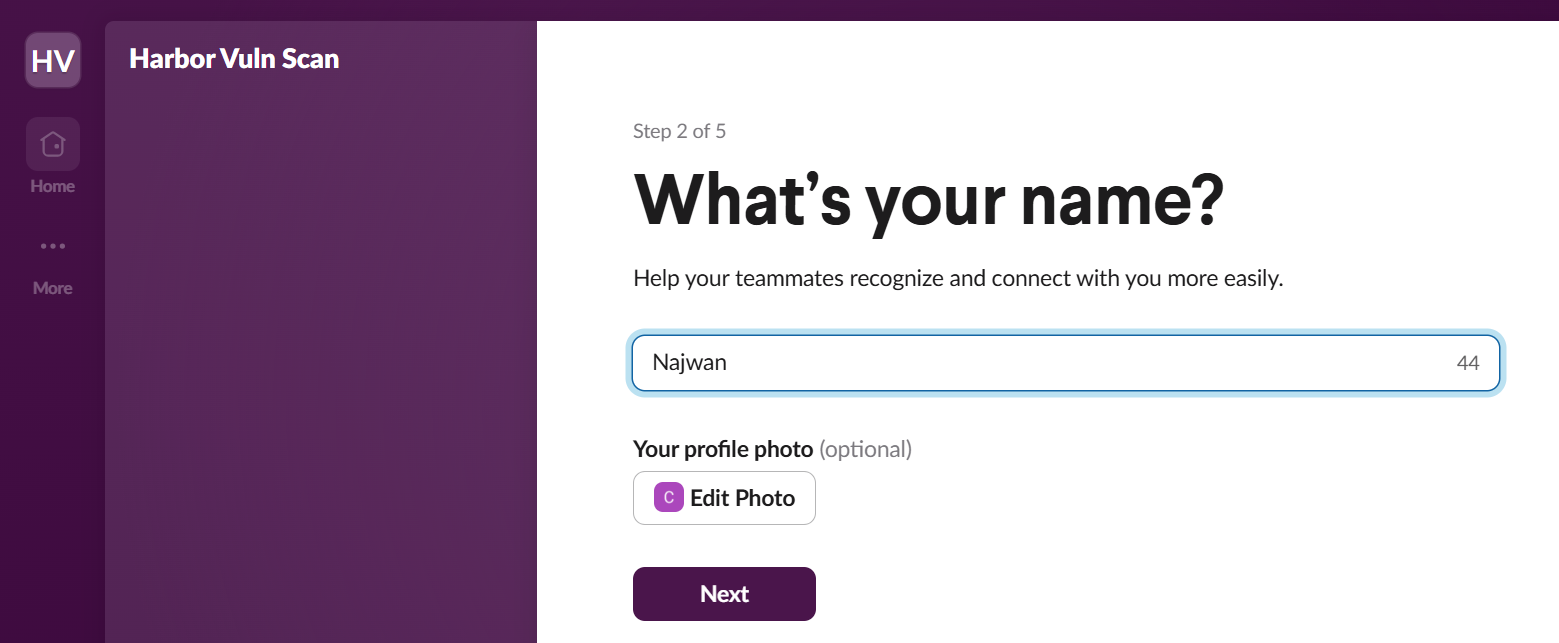
Enter a display name, such as "Najwan".
-
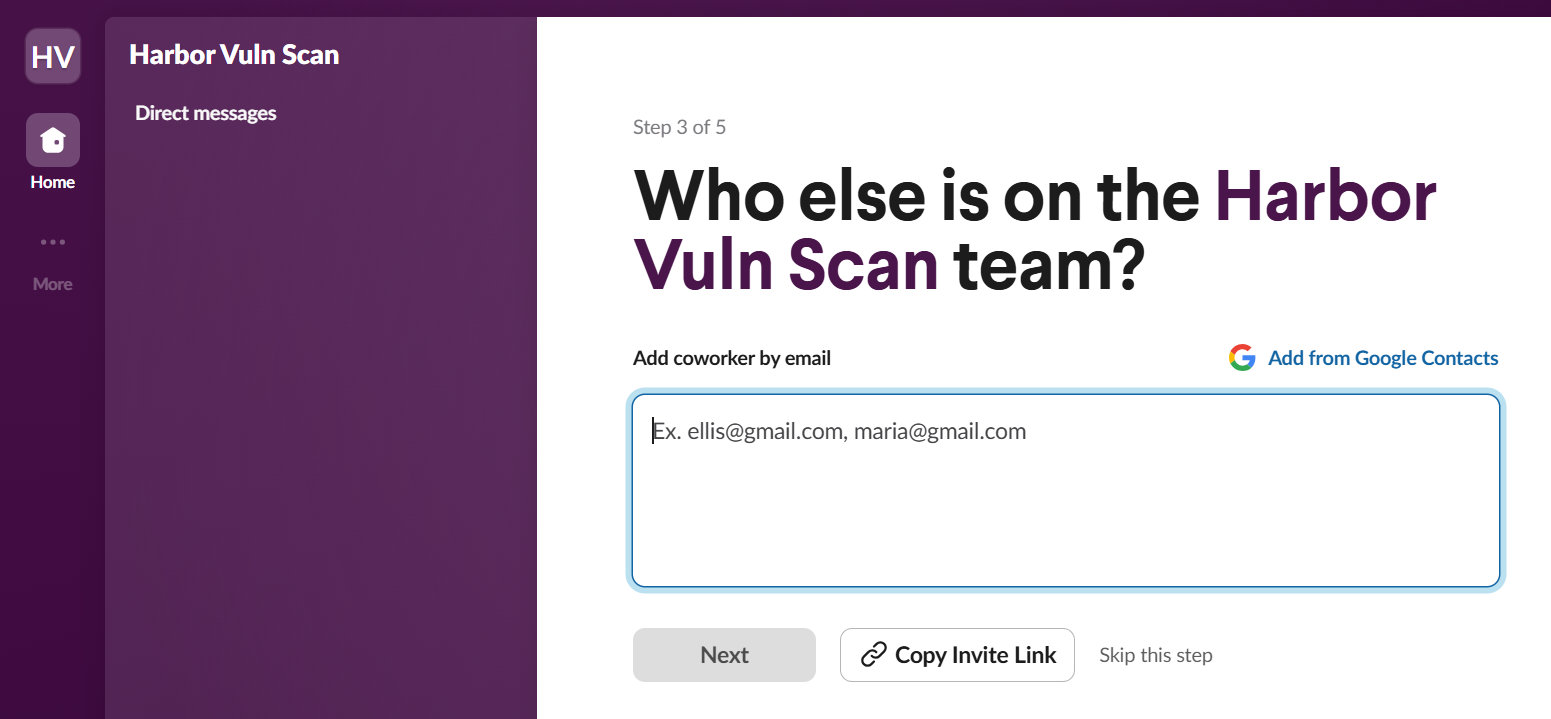
Select "Skip this step" if you do not want to invite other users yet.
-
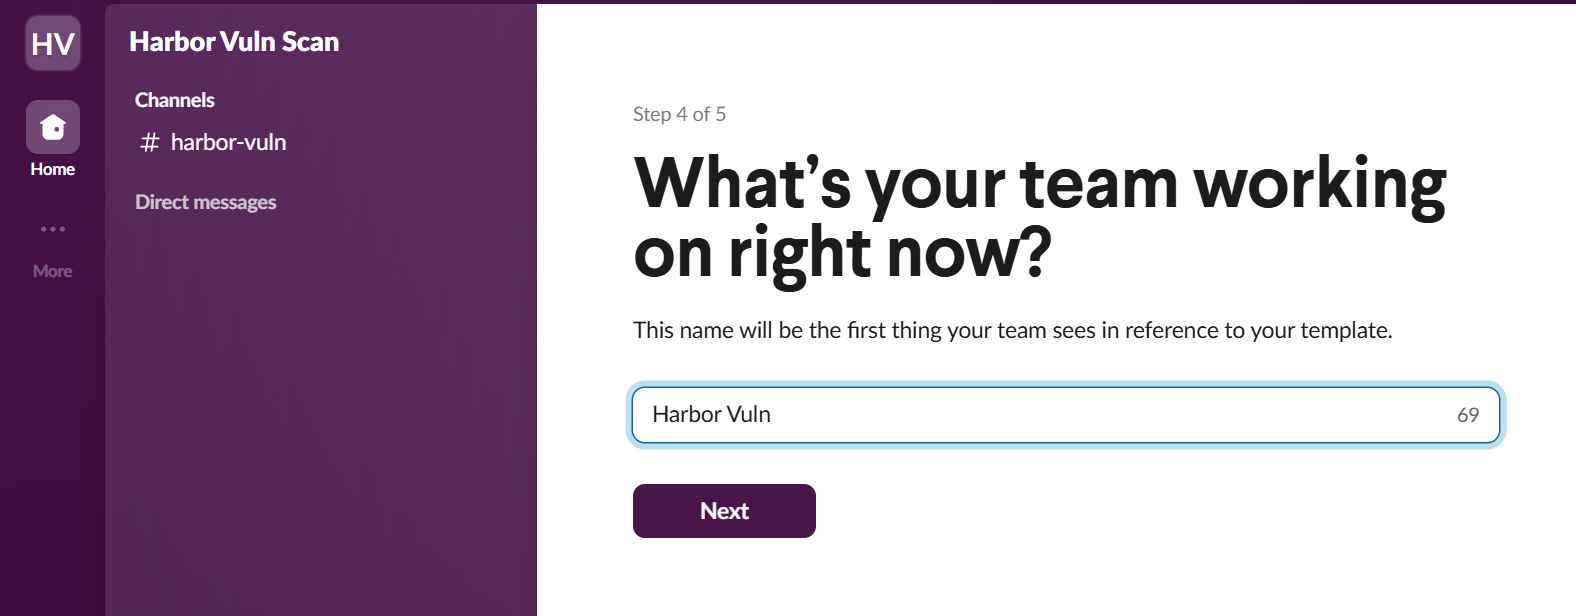
Create a channel, for example "Harbor Vuln".
-
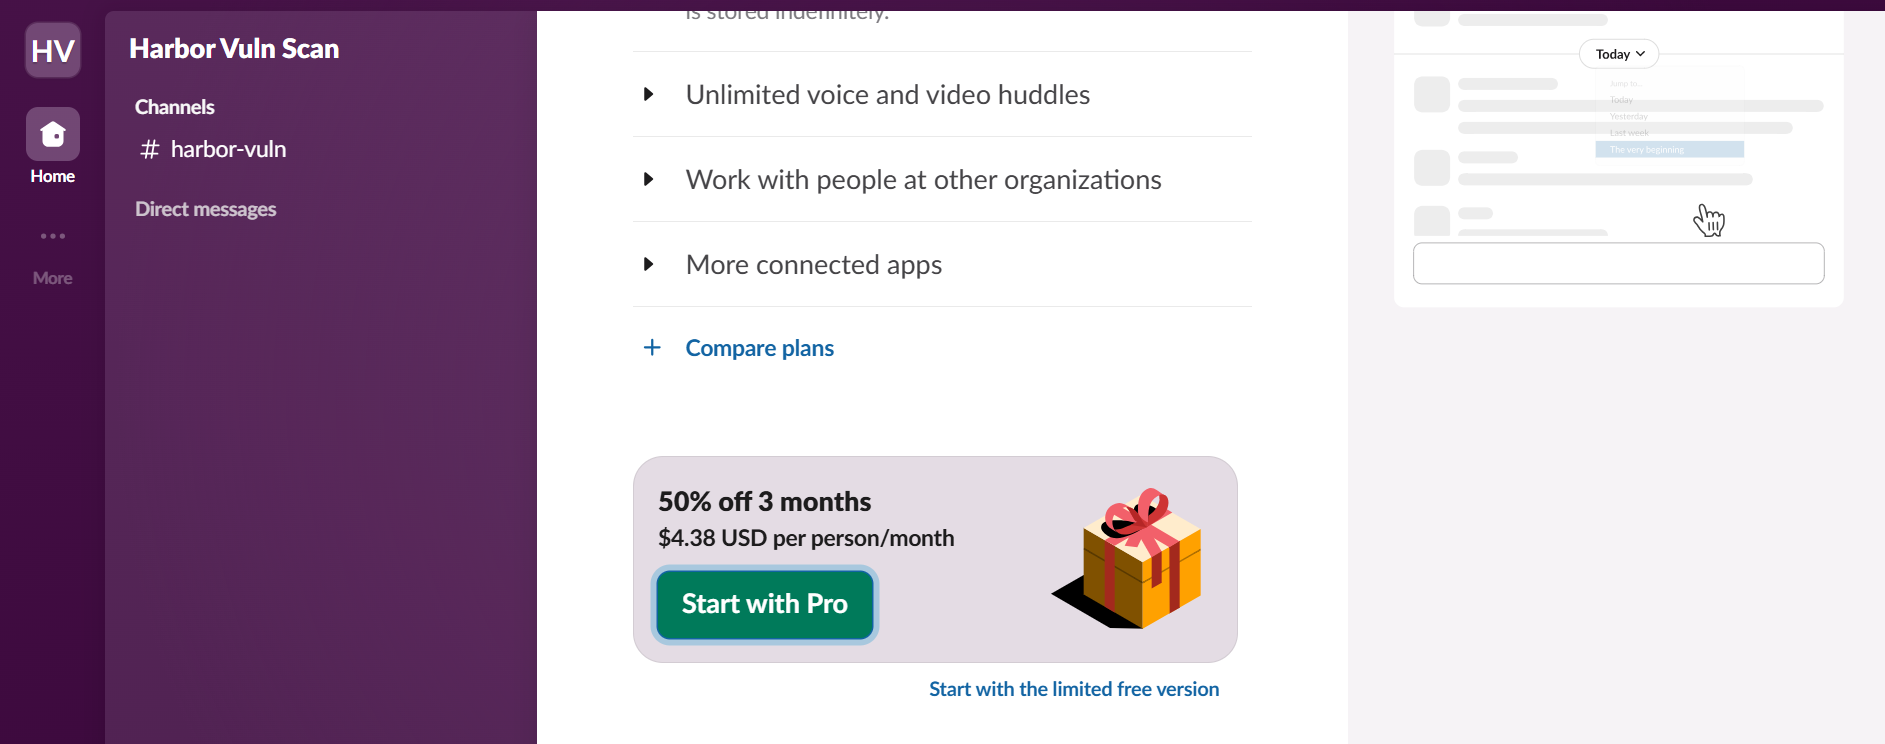
Select "Start with the limited free version" if you want to use the free plan.
-
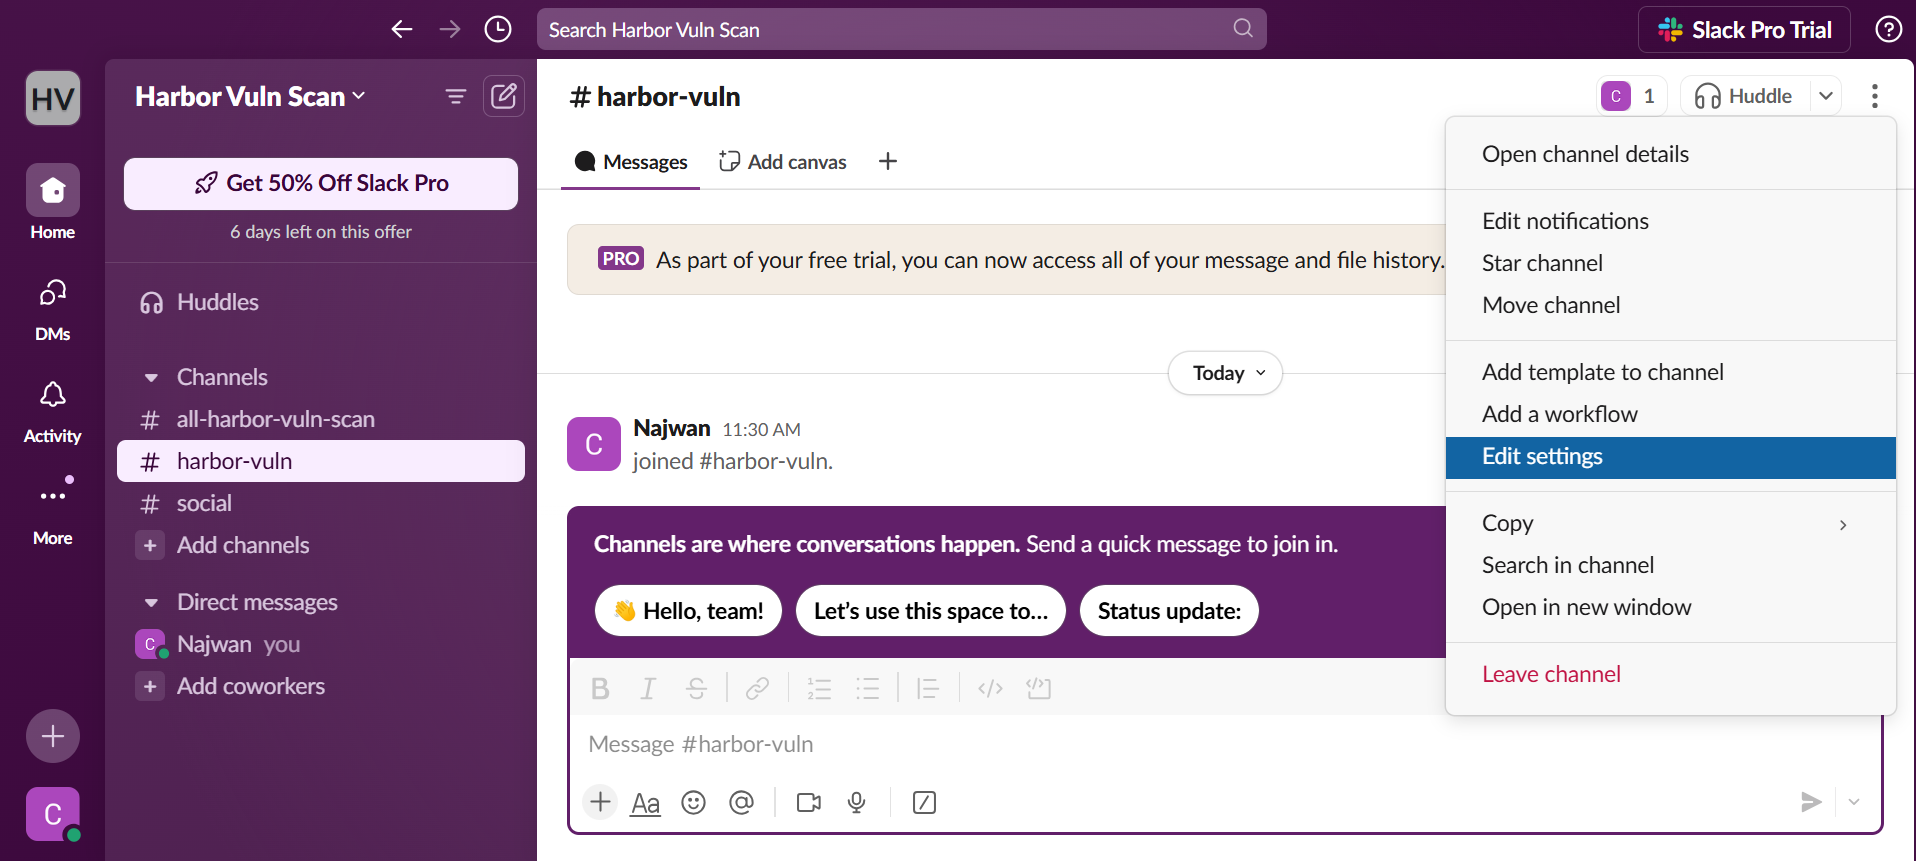
Open the three-dot menu in the upper-right corner and select "Edit Settings".
-
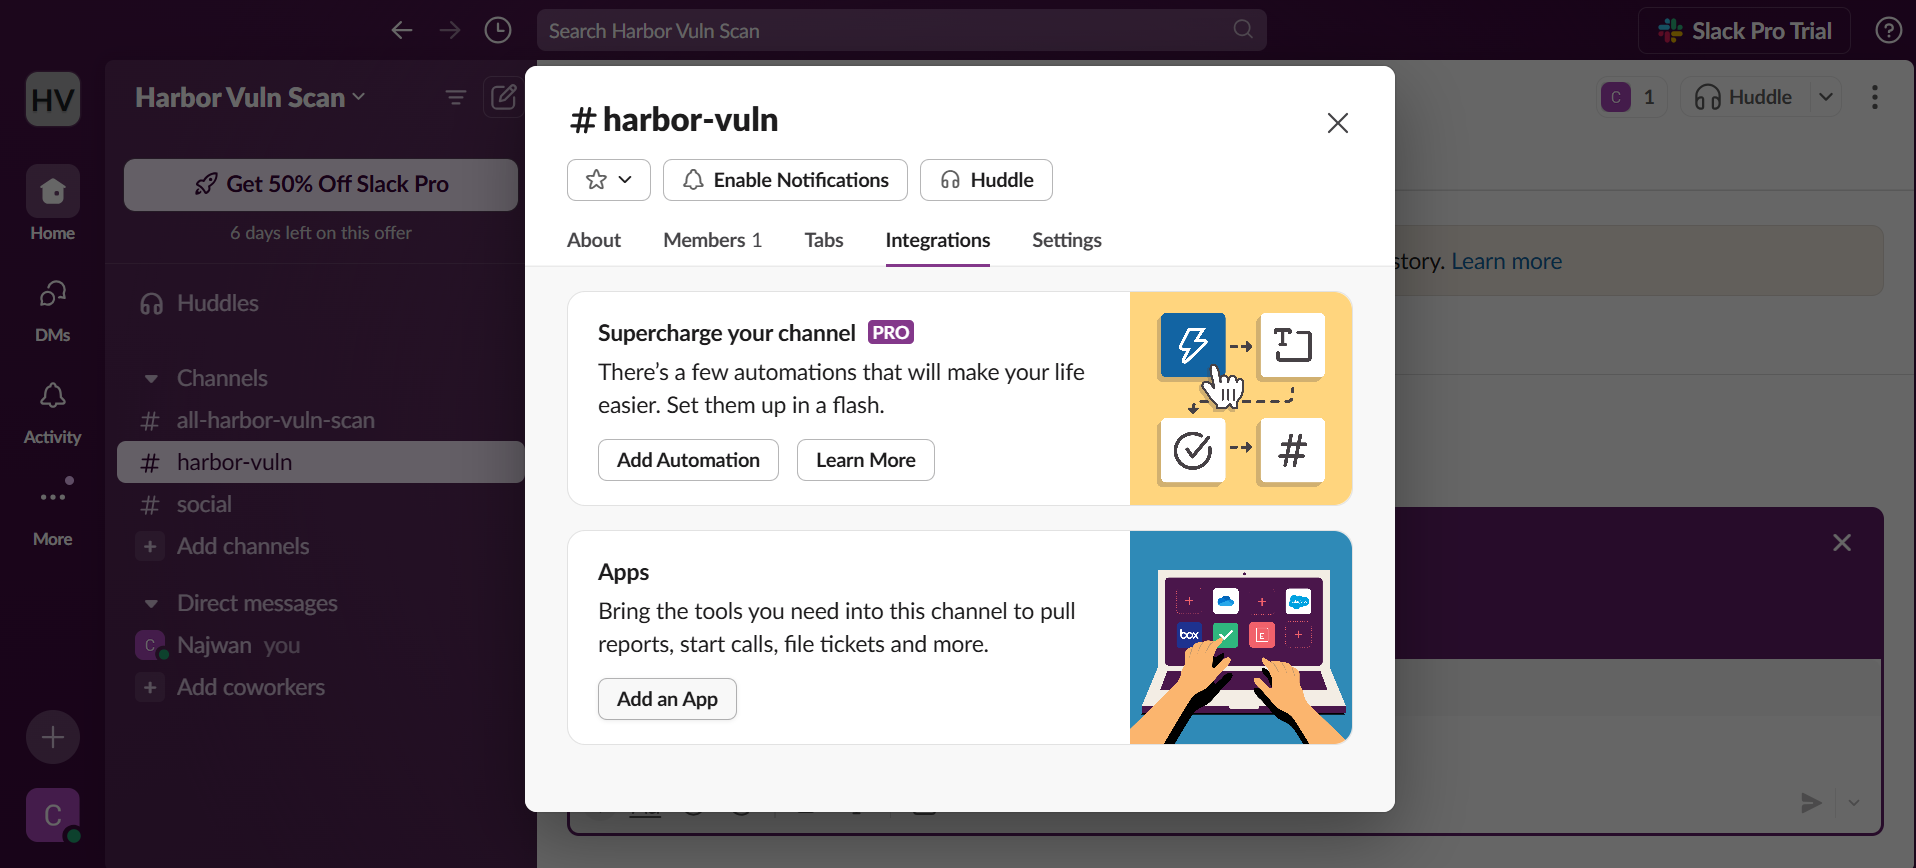
Select "Integrations", then choose "Add an App".
-
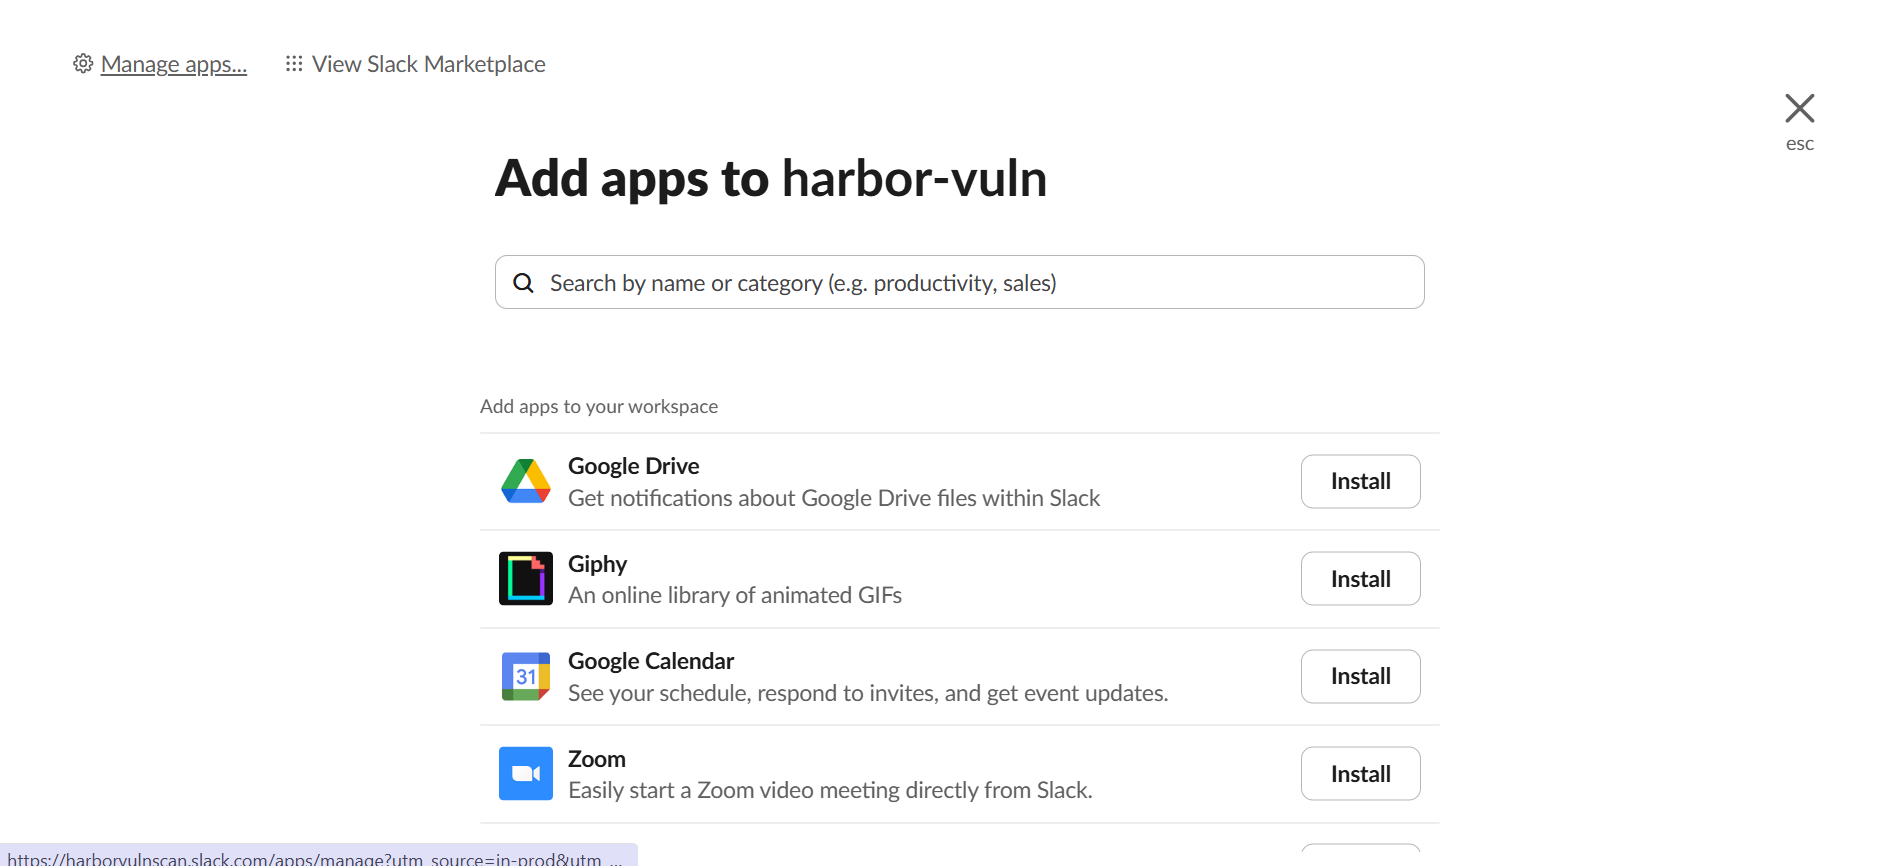
Select "Manage Apps..." in the upper-left corner.
-
Select "Build" in the upper-right corner.
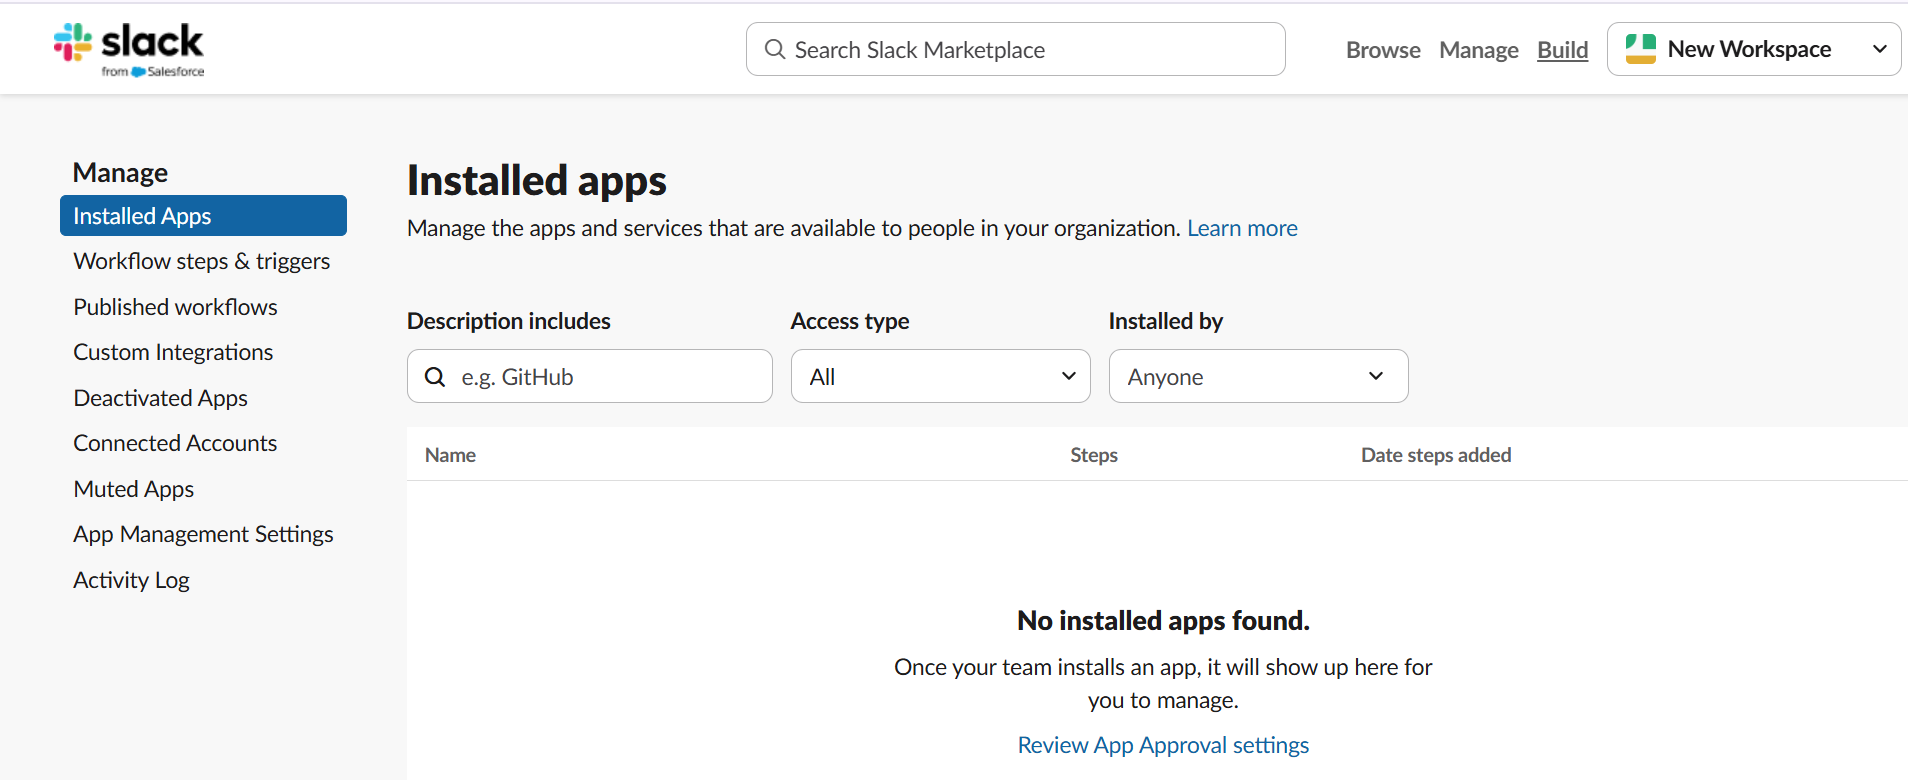
-
Select "Create an App".
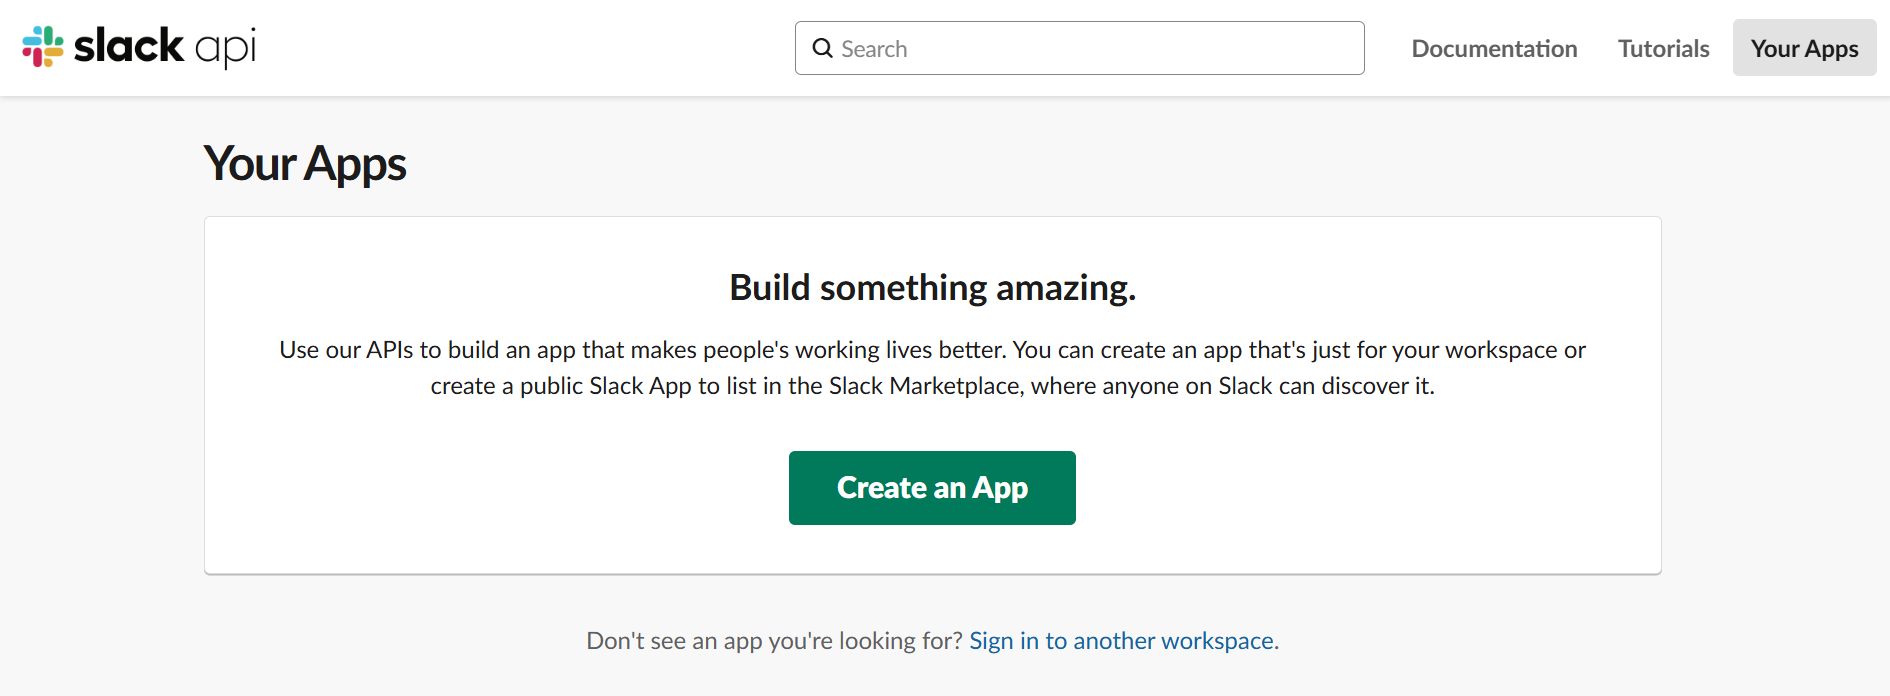
-
Choose "From scratch" to create the app without a manifest. The manifest option requires a JSON or YAML template.
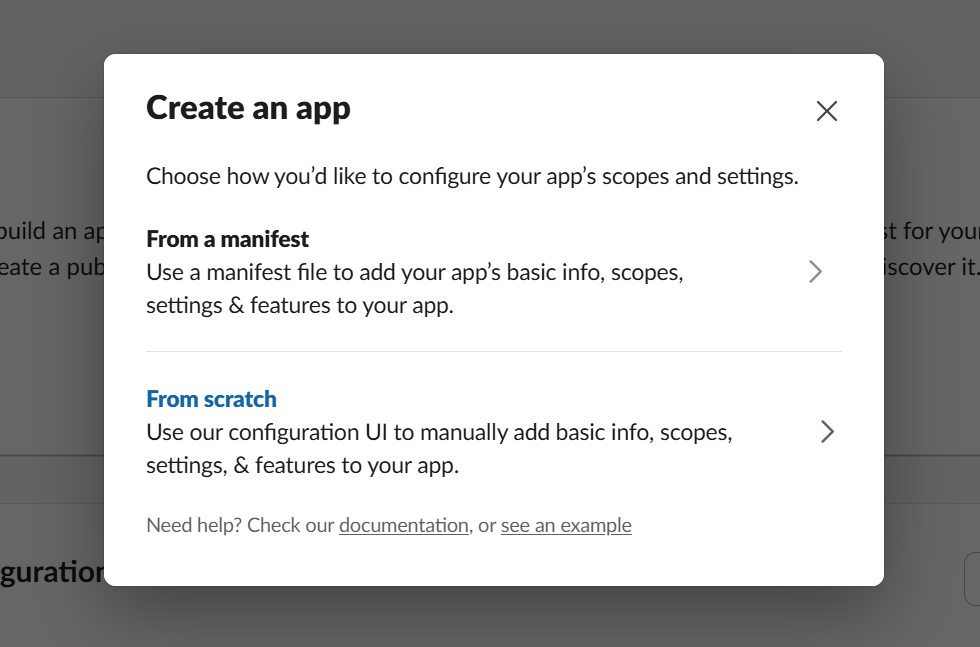
- Enter the app name, select the appropriate workspace, and select "Create App".
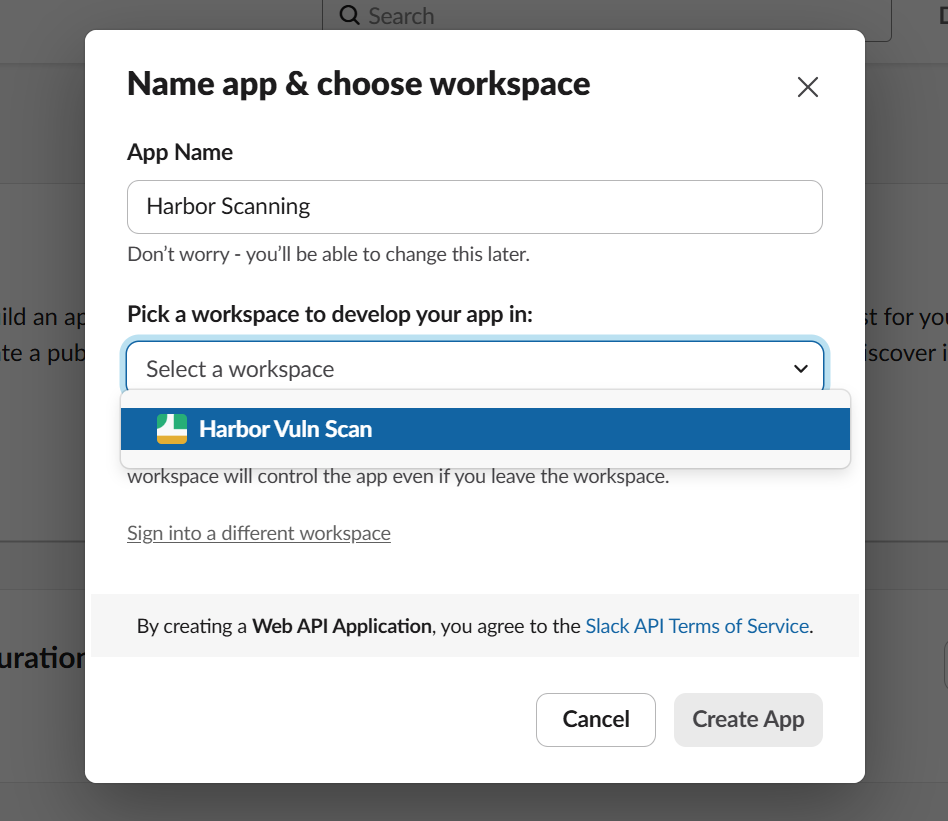
- Enter the app name, select the appropriate workspace, and select "Create App".
-
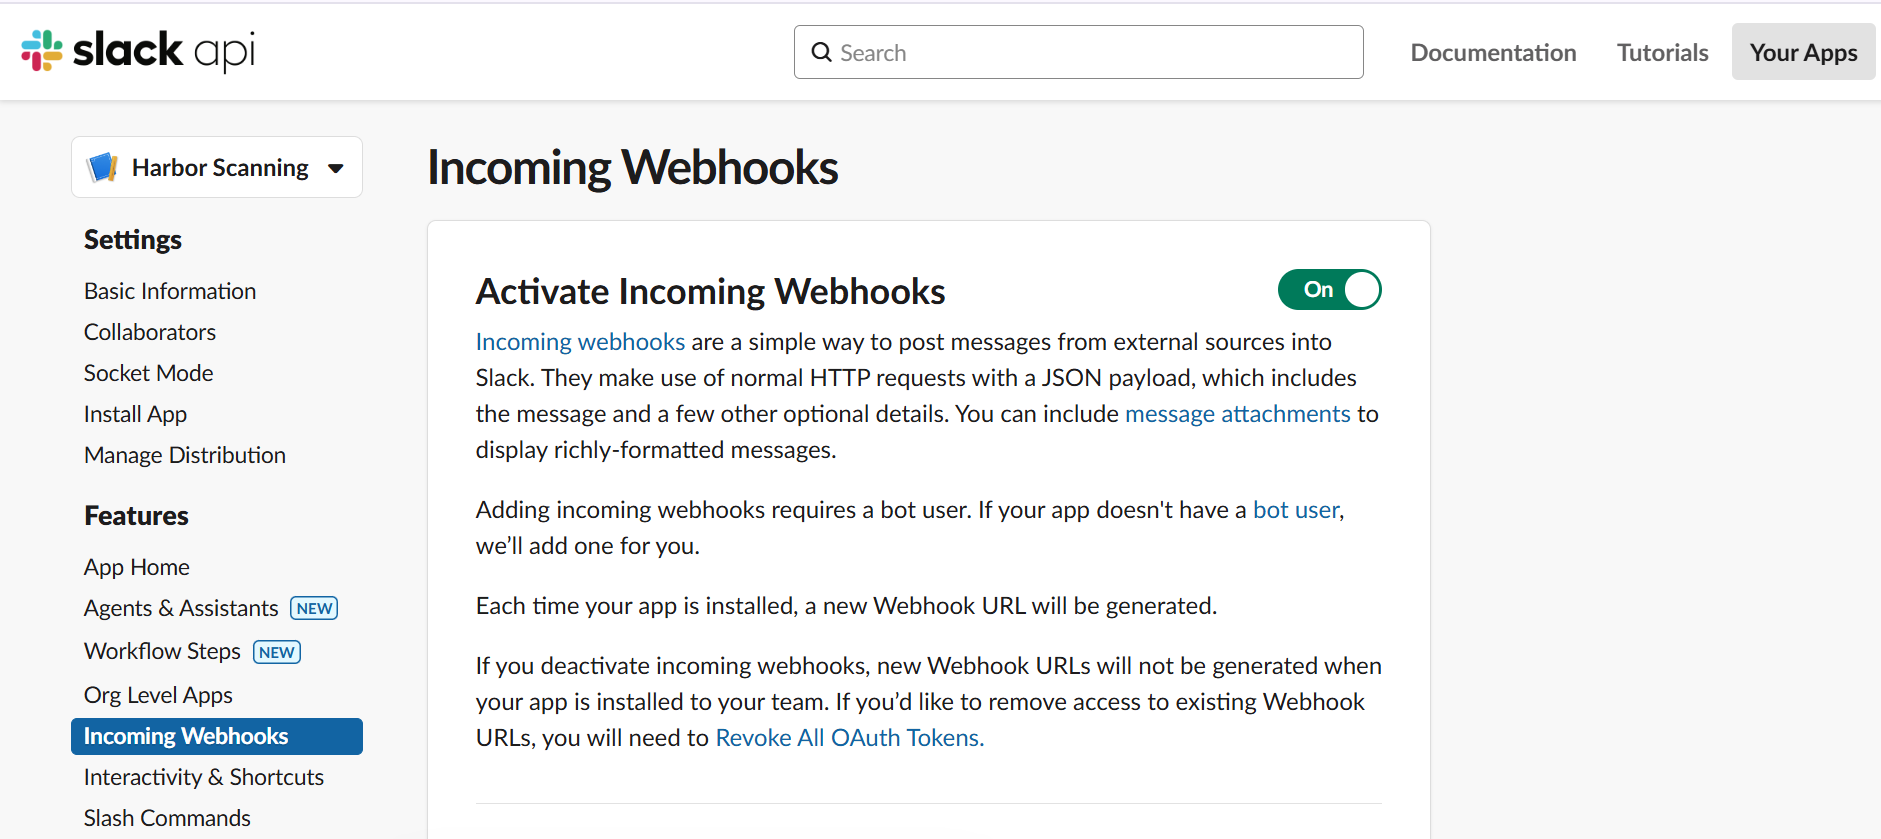
After creating the app, create a webhook endpoint for Harbor. Open "Incoming WebHooks" and enable "Activate Incoming WebHooks".
-
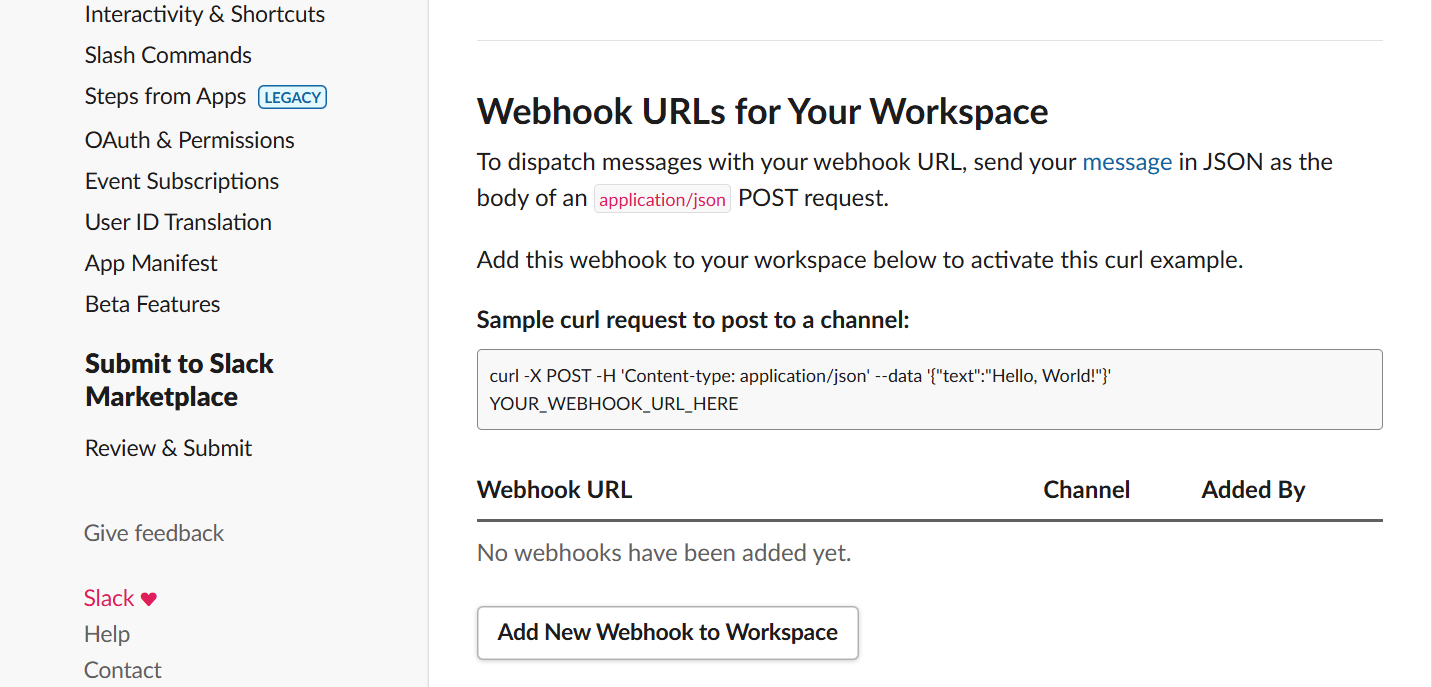
Scroll down and select "Add New WebHook to Workspace".
-
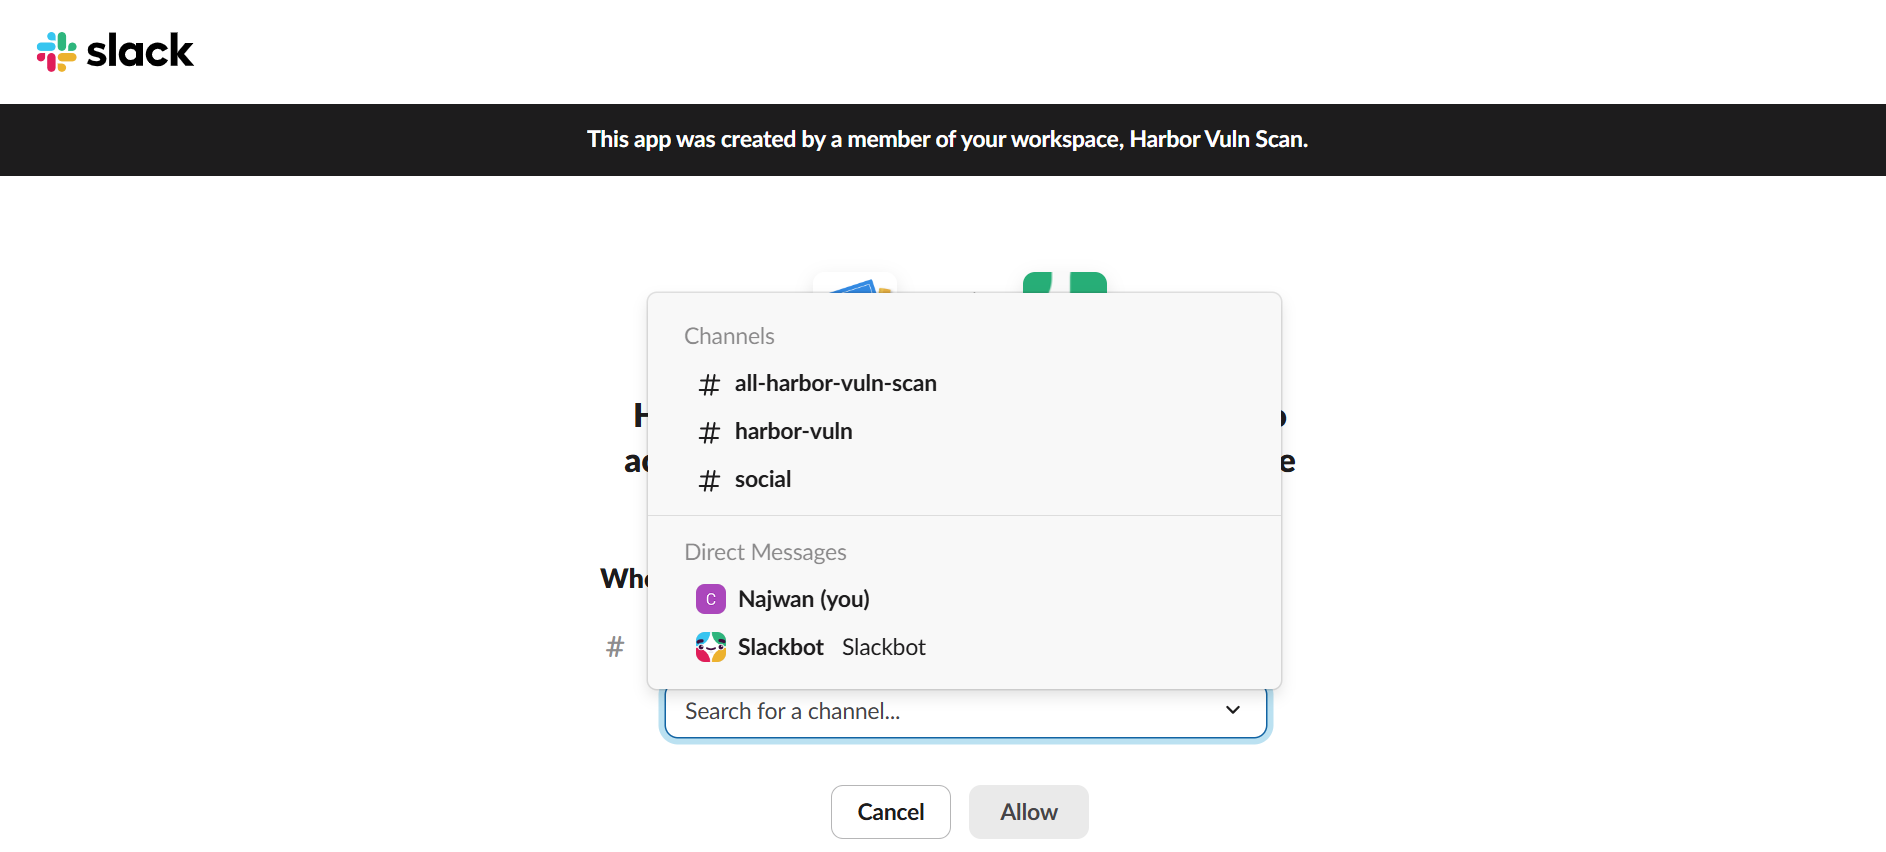
Choose where the webhook should send messages: a Slack channel or a direct message. In this example, use the "harbor-vuln" channel.
-
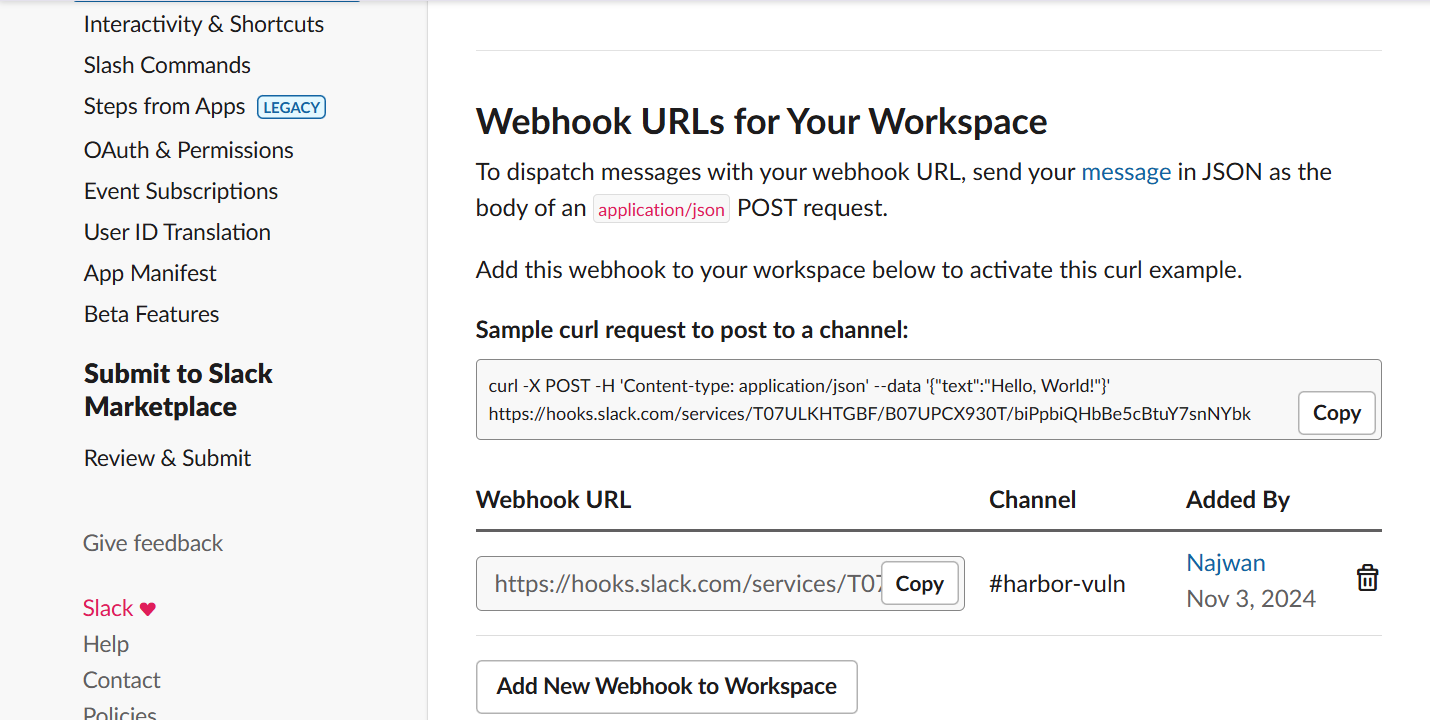
Copy the generated webhook URL.
-
Sign in to Harbor as
admin, open the project to configure, and select the "testing" project in this example. -
Open "Webhooks" and select "+ New WebHook".
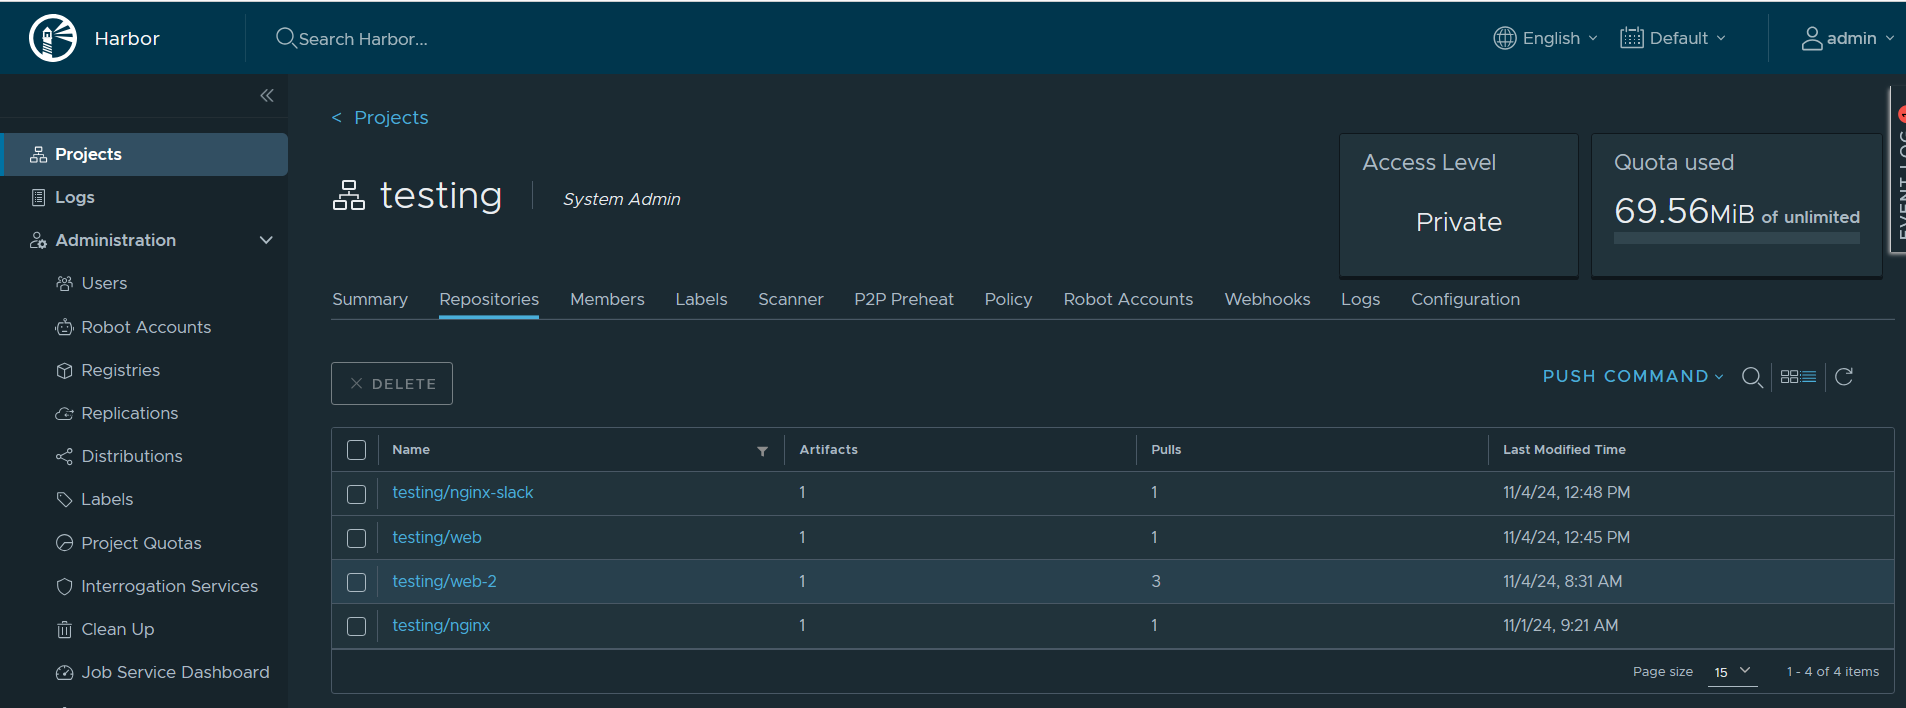
-
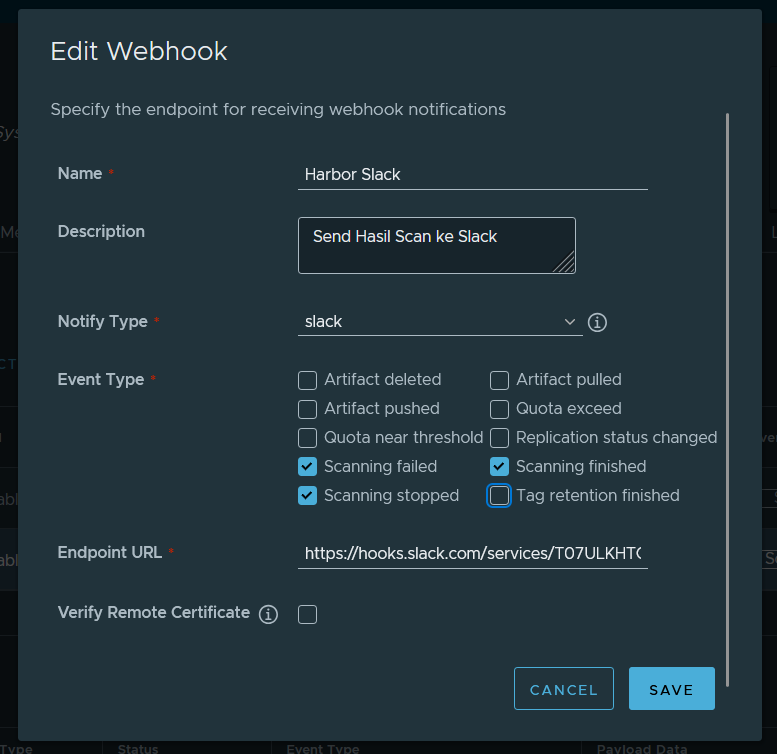
Provide the webhook details:
- A webhook name.
- An optional description.
- "Slack" for "Notify Type".
- The events that should trigger a Slack notification under "Event Type":
- Scanning failed.
- Scanning stopped.
- Scanning finished.
- The Slack endpoint URL created in the previous step.
9. Configure the Slack Bot and Notification Service
-
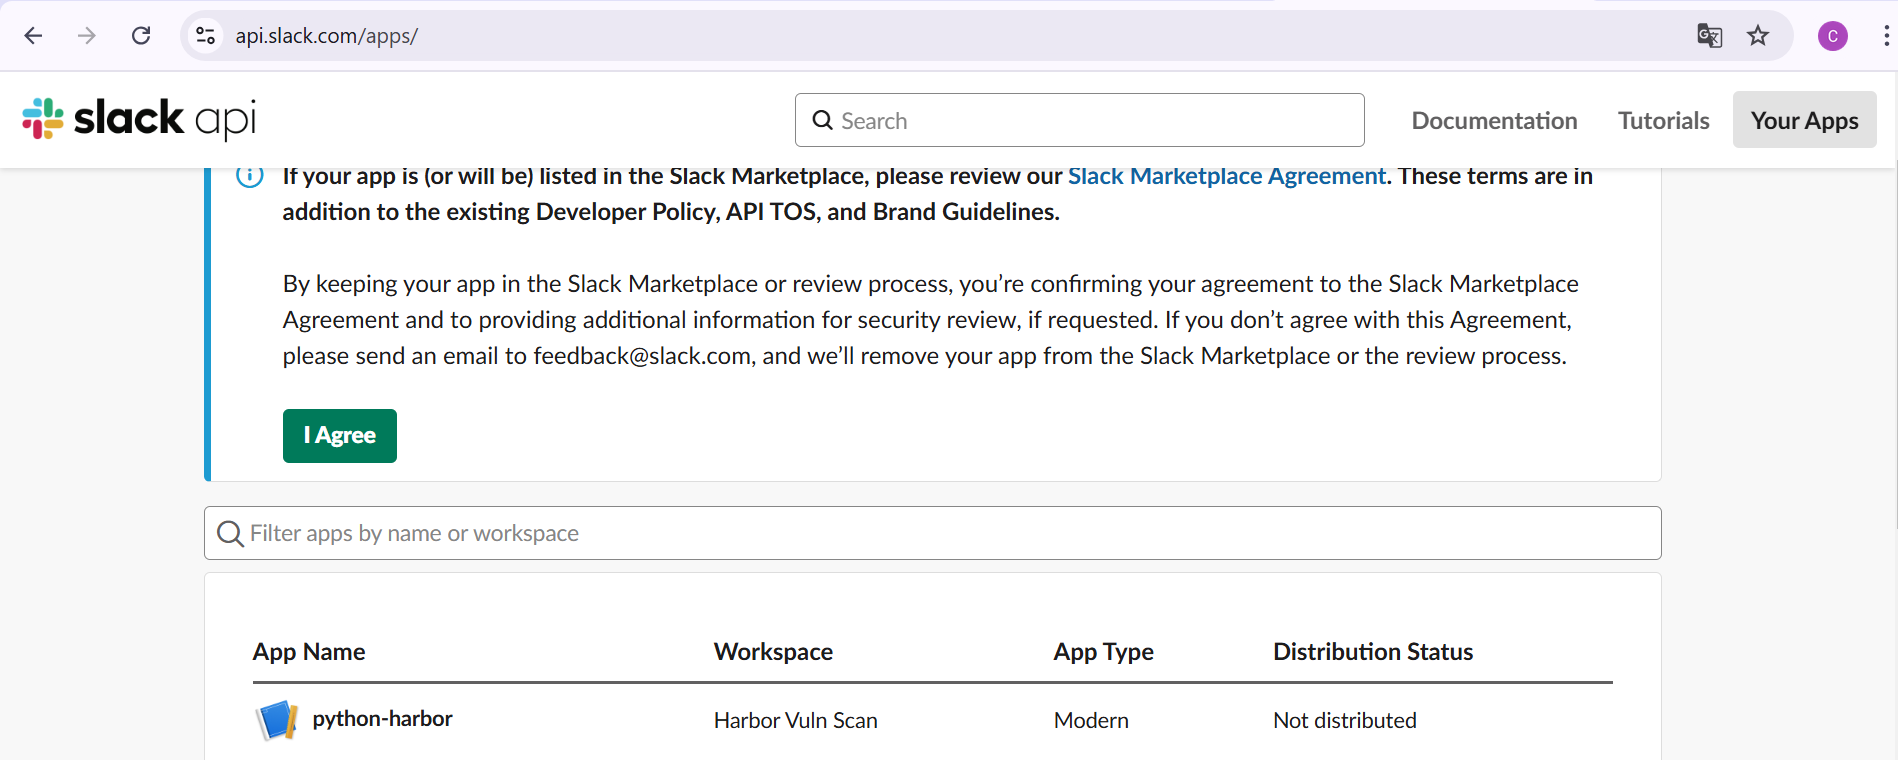
Open the Slack app management page at api.slack.com/apps and select the app, for example "python-harbor".
-
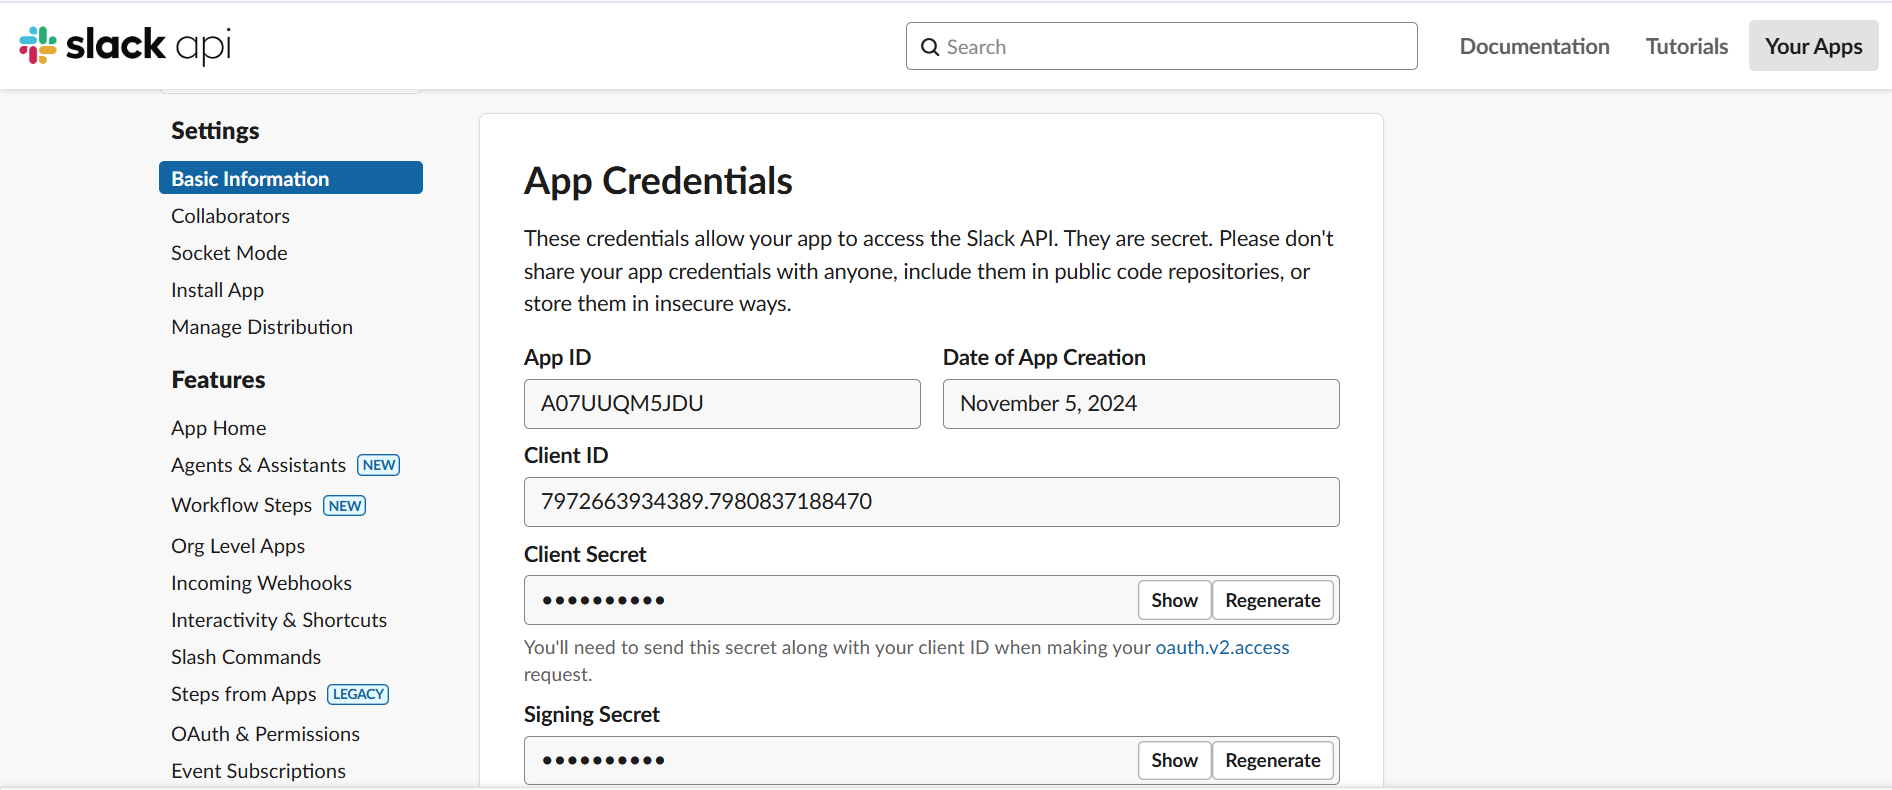
Select "OAuth & Permissions".
-
Scroll to "Scopes", select "Add an OAuth Scope", and add
chat:writeso the app can send messages.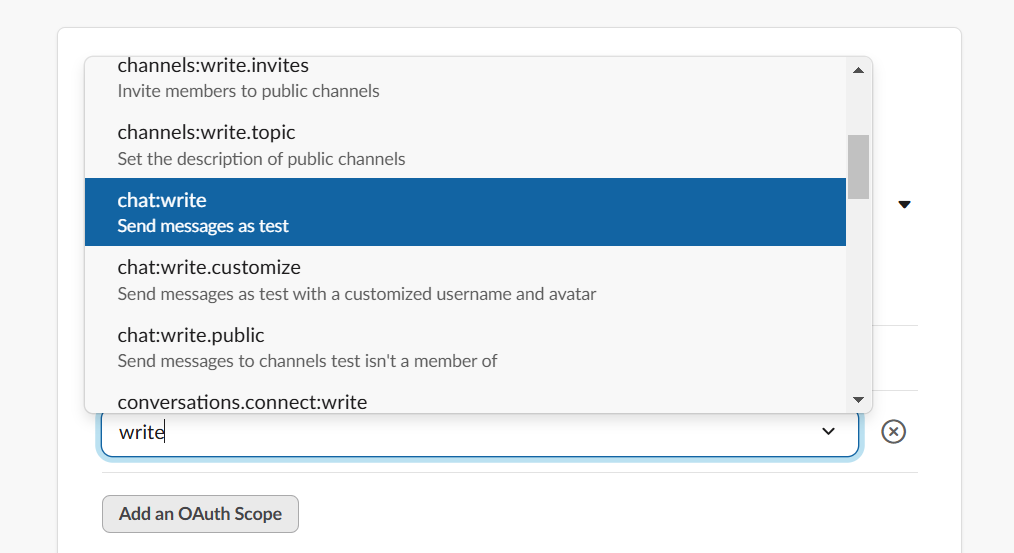
-
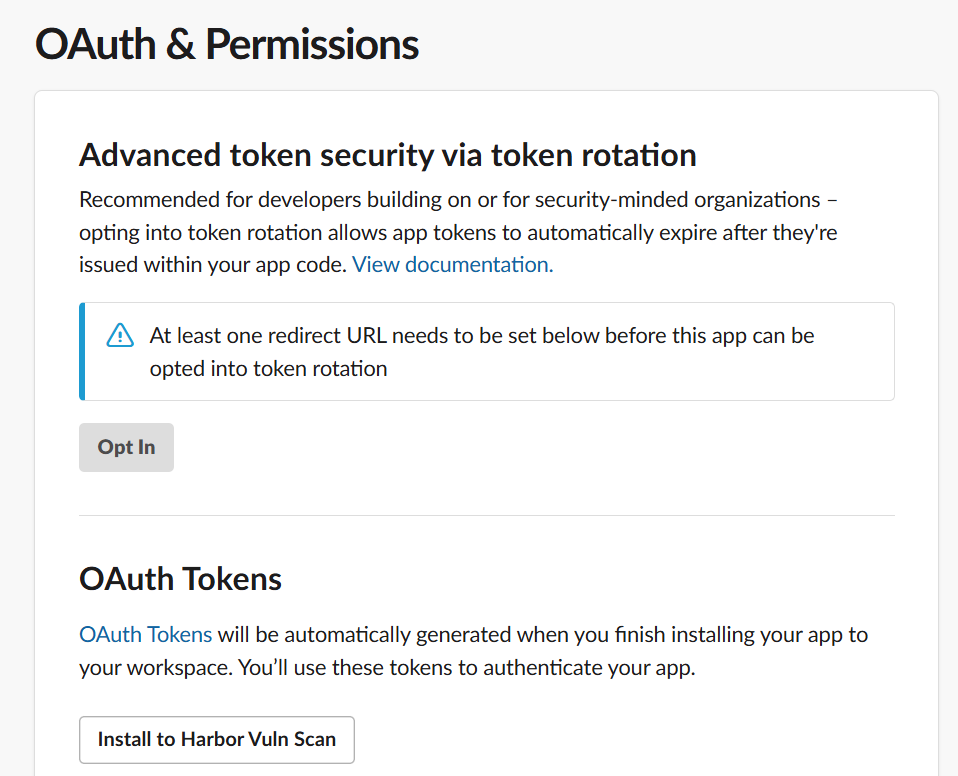
Scroll to "OAuth Tokens" and select "Install to Harbor Vuln Scan".
-
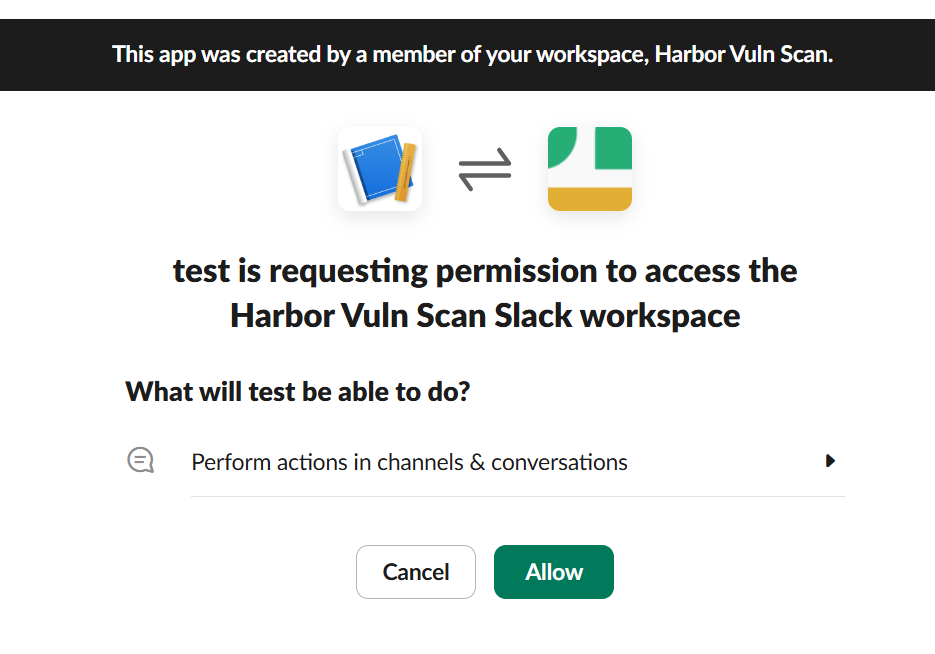
Select "Allow".
-
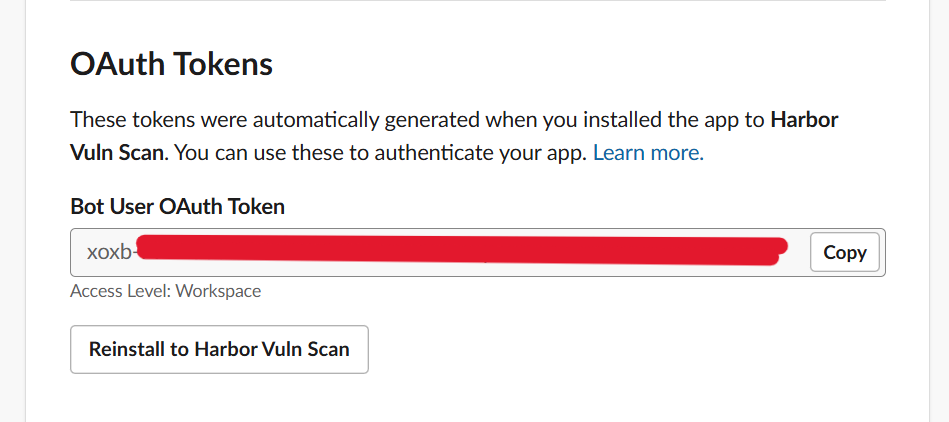
Copy the "Bot User OAuth Token".
-
Download the sample Python application from this GitHub repository. Use it to filter Trivy scan results and send them to Slack. Update the following values:
csstoken_slack = "TOKEN_OAUTH" channel_id = "CHANNEL_ID_SLACK" name_bot = "NAME_BOT" -
Install the required Python libraries.
bash~$ sudo pip3 install -r requirement.txt ~$ sudo cp main.py /usr/local/bin/ -
Copy the service file to
/etc/systemd/system/.bash~$ sudo cp python-slack.service /etc/systemd/system/ -
Copy
main.pyto/usr/local/bin/, matching the path configured in the service file.bash~$ sudo cp main.py /usr/local/bin/ -
Reload systemd, then start and check the service.
bash~$ sudo systemctl daemon-reload ~$ sudo systemctl start python-slack.service ~$ sudo systemctl status python-slack.service
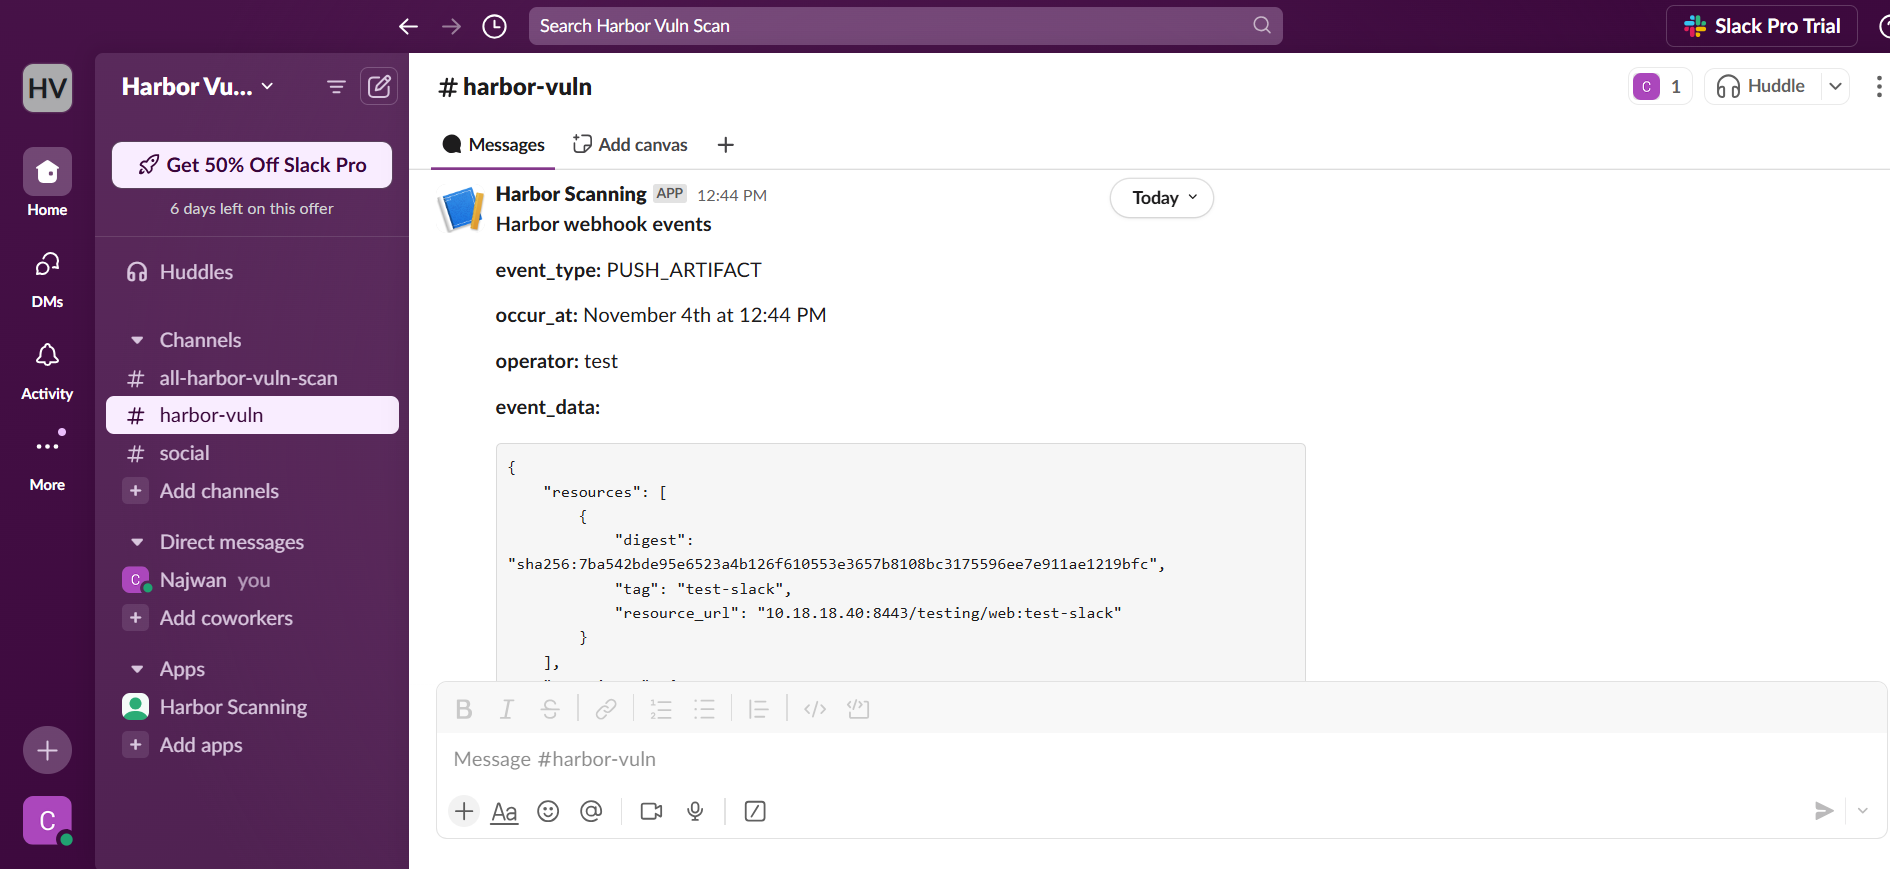
Notifications without the Python filter
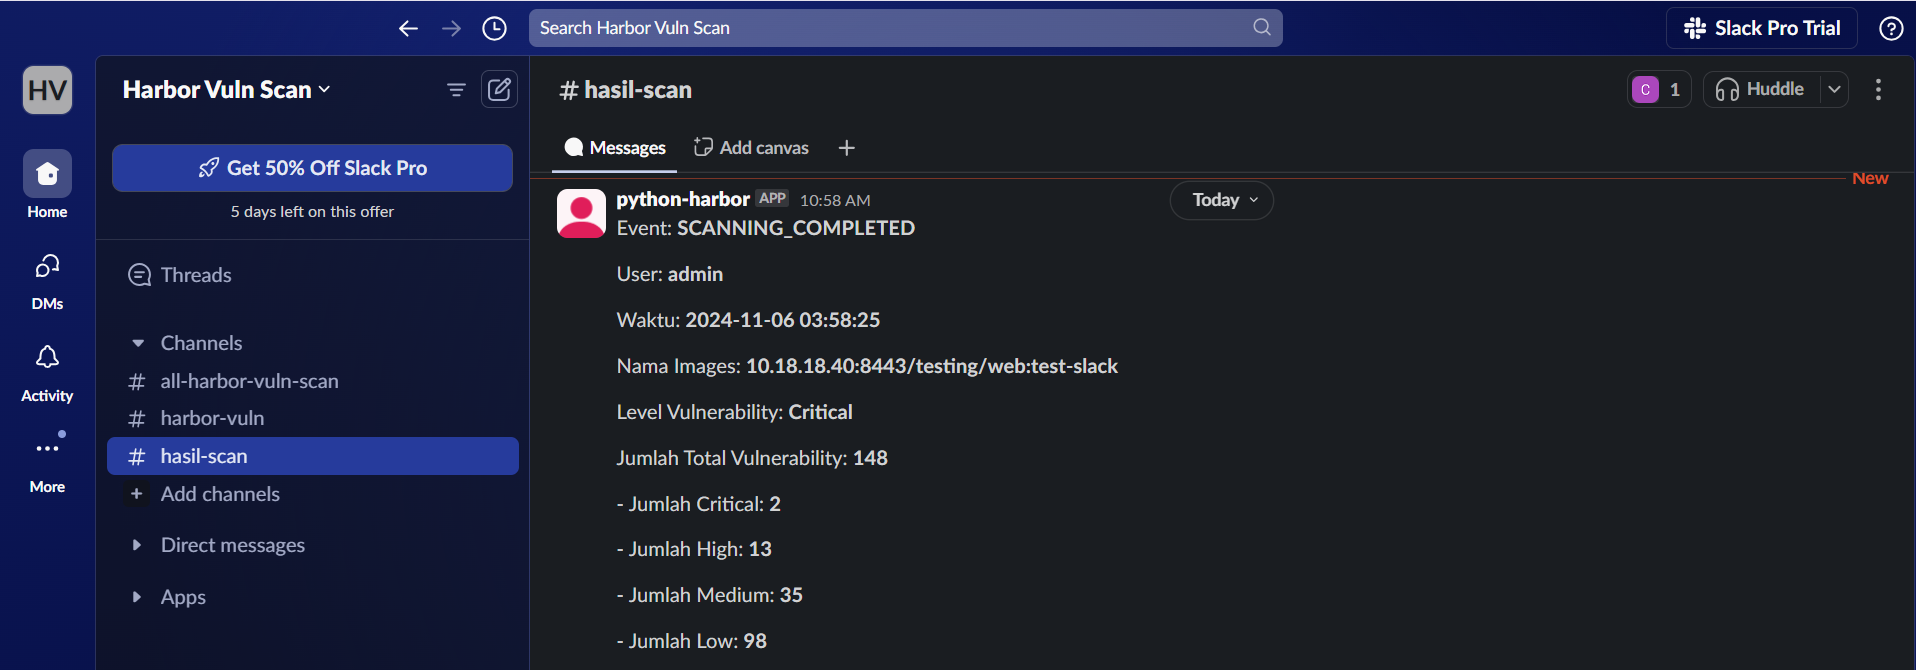
Notifications with the Python filter
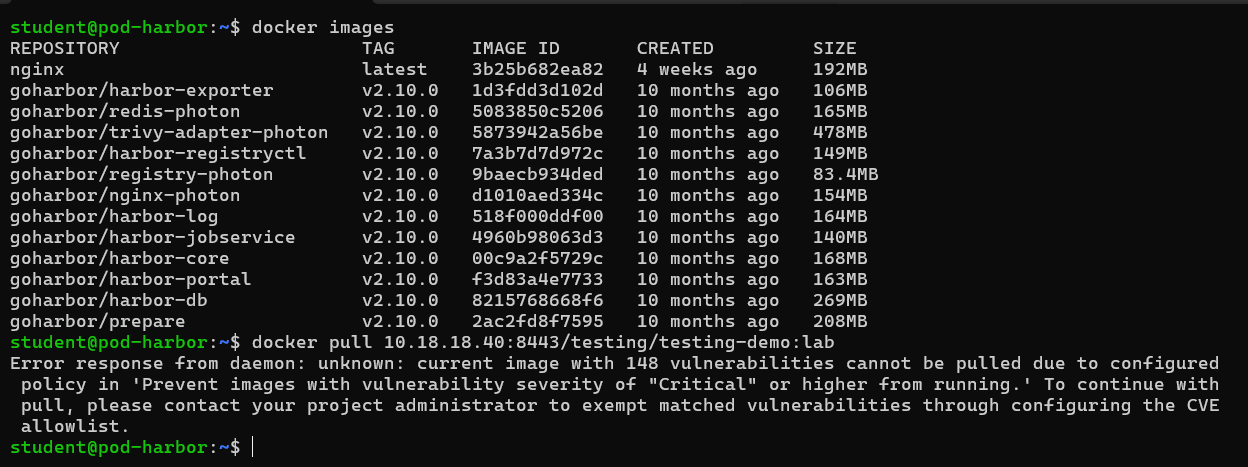
Pull blocked for Critical or higher vulnerability severity